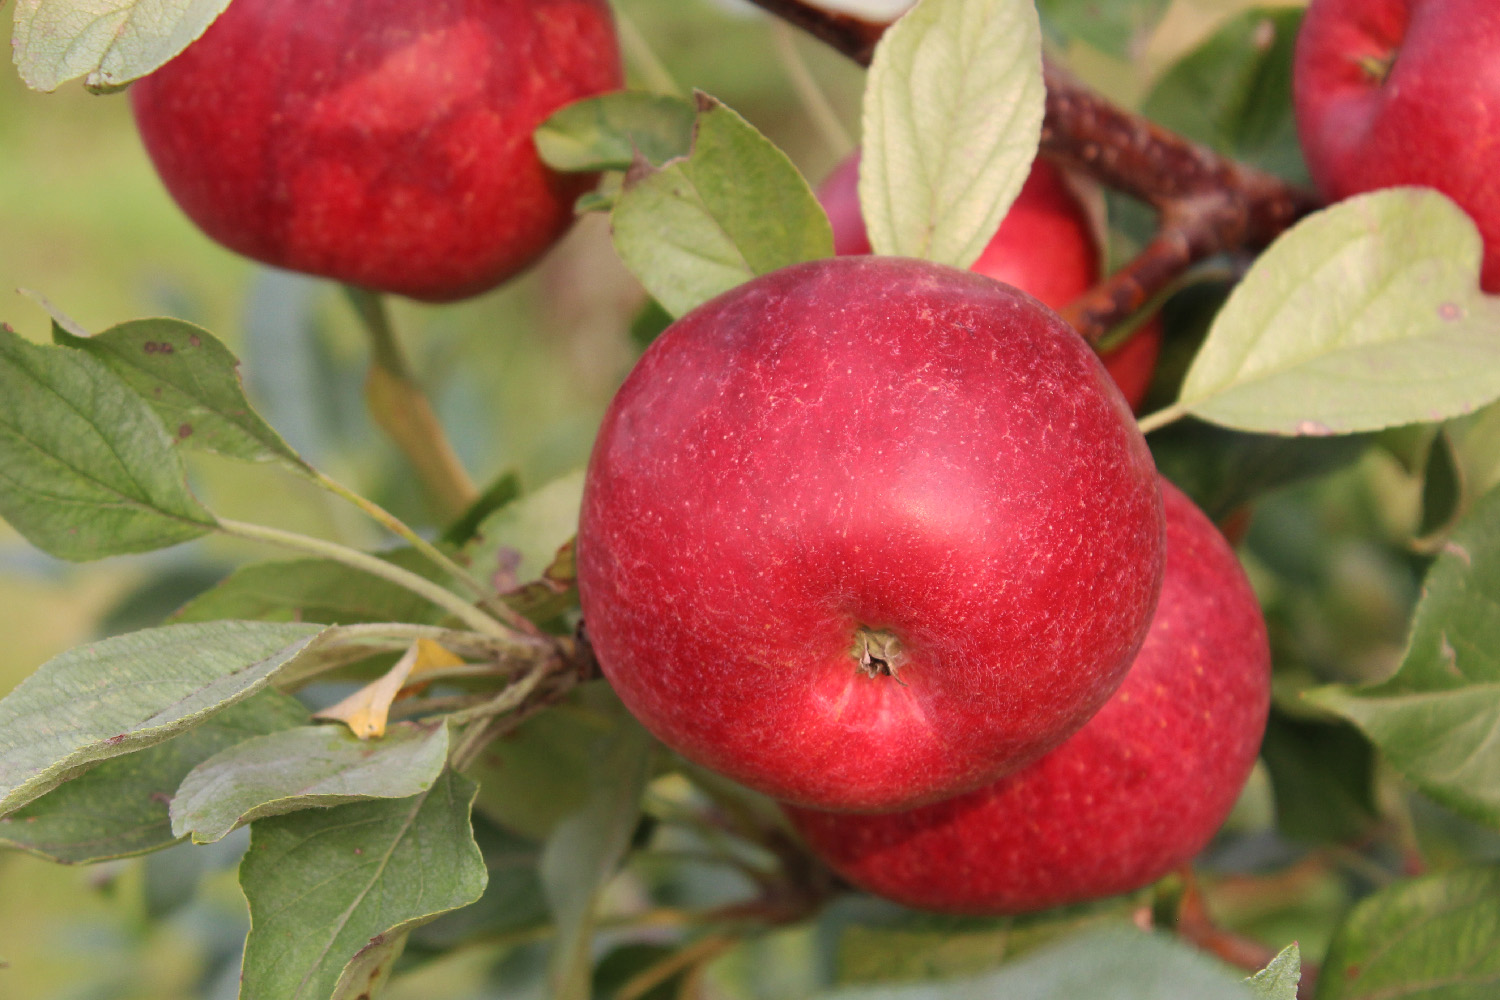
My little Honeycrisp apple tree outdid itself this year, producing so many apples its branches were drooping from the weight. The early heat and warm fall meant that all of my apples ripened early, by a couple of weeks or more! Normally, I would pick the apples and put them in the root cellar to eat or deal with later, but this year it hasn’t been an option, since it has been unseasonably warm – my root cellar is not cold at all! So I had to find other ways to deal with all those apples.
We picked three very (!) heaping grocery baskets of nice apples, plus a bunch of pecked, hail-damaged, and windfallen apples that went to the chickens. We were able to give away part of one basket to neighbors and friends, and I put most of another basket into gallon ziploc bags (8 of them!) in the fridge to eat later. That left me about one level basket plus two thirds of another to ‘do something’ with.
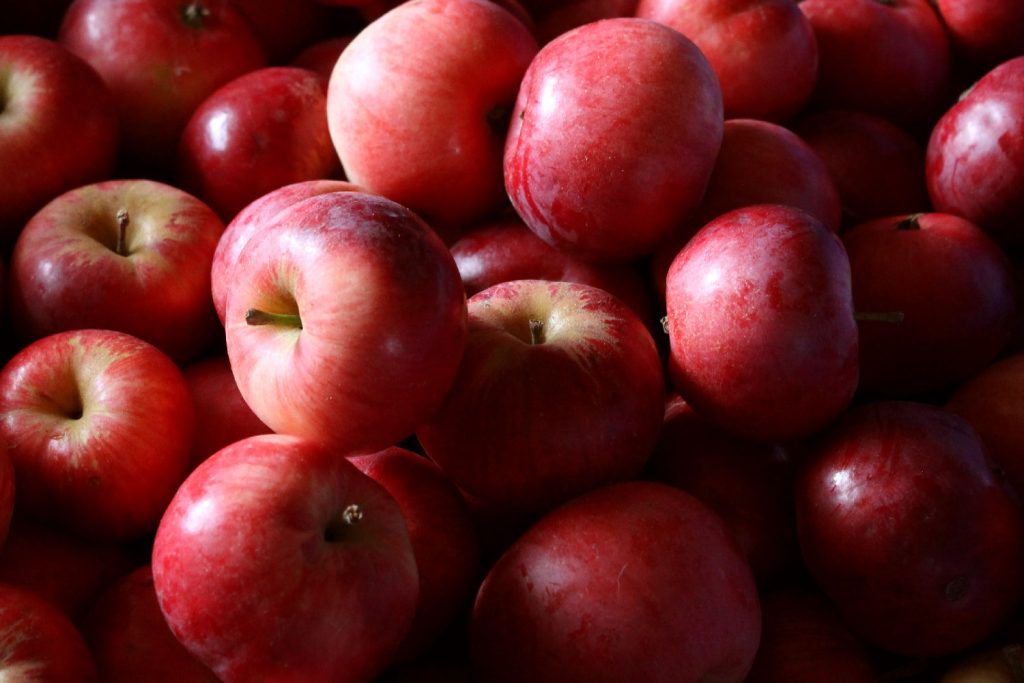
We use a fair bit of applesauce, here. Mostly on porridge (my favorite winter breakfast!), but also as a side for pork, and to just eat with a spoon. Because they’d had plenty of late-summer warmth to ripen with, the apples were fairly sweet this year. With my freezer being too full to fit much more in, canned applesauce seemed like the best option.
We haven’t canned applesauce in several years, here. It’s a bit of a fiddly process, and I seemed to remember it sucking up entire weekends. But Friday night after work, I cut up enough apples to fill my big stock pot, boiled them to mush, ran them through my sauce-making device, and canned them up. I timed myself, and it was three hours, start to finish, and I ended up with 7 pints – exactly a canner load – which was perfect. It was also a lot faster than I remembered, and I’m not sure why, but it was certainly encouraging!
Yesterday, I tackled the rest of the apples. I only have one big stock pot suitable for this project, but I have several large roasting pans, so I decided to cook the apples down in the oven, rather than on the stove top. Interestingly, my one roaster has a tighter-fitting lid than the other, and those apples cooked waaaayyy faster than the ones in the roaster with the loose lid.
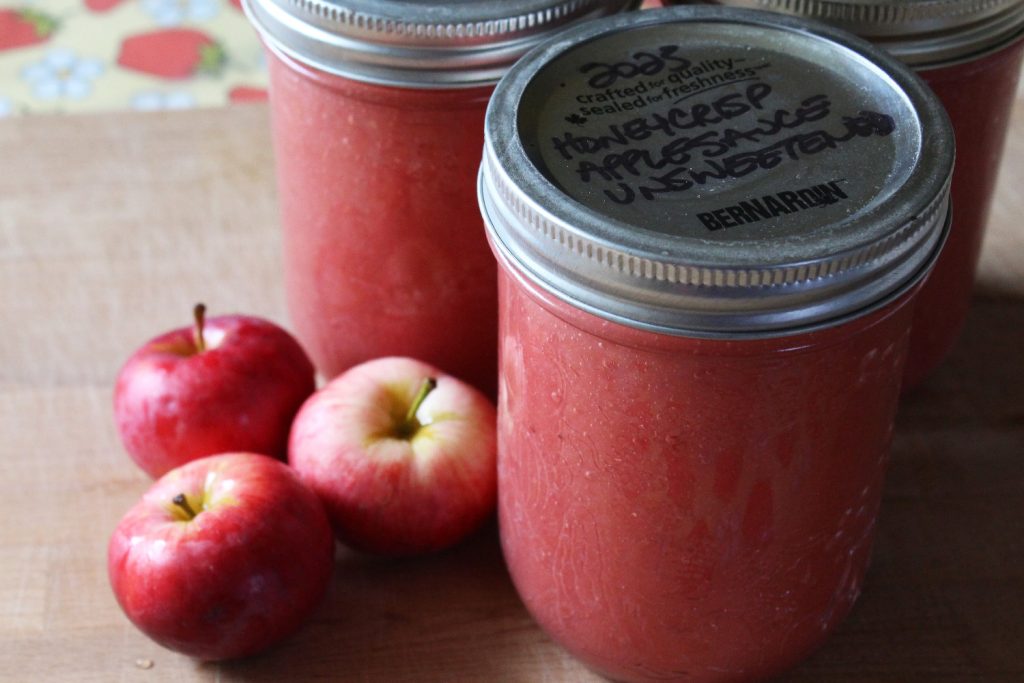
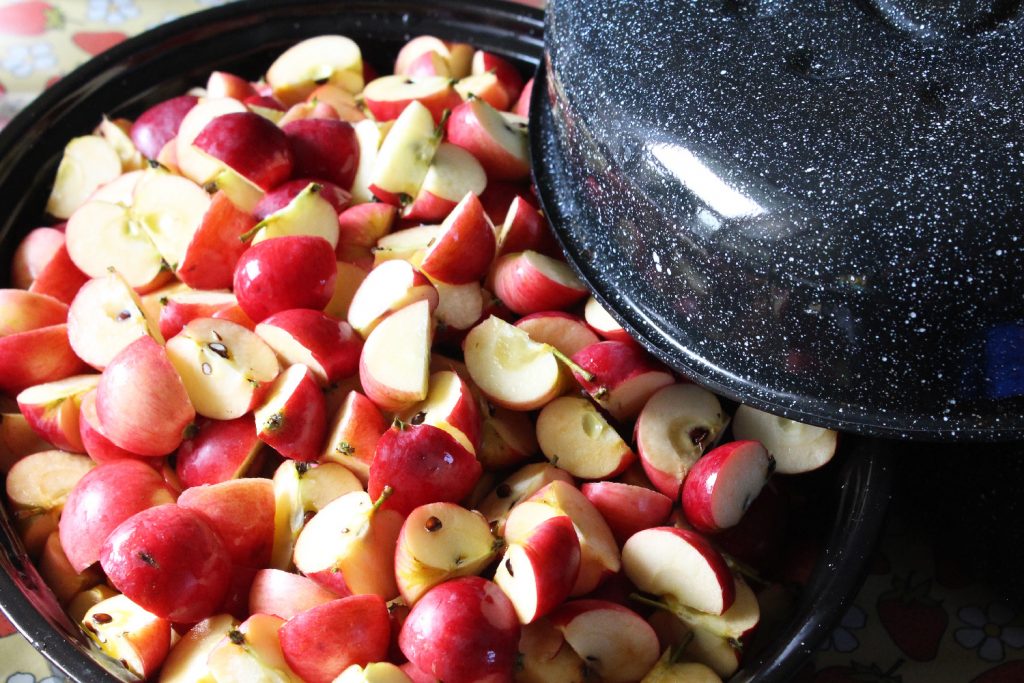
If you have large apples, you can peel and core them, which makes saucing them easier at the end, especially if you have an immersion blender – just whiz them up and you’re done! I didn’t thin my Honeycrisps, though, and the apples are small, so I just quartered them without peeling, and threw them in the roasters, cores and all. Leaving the peels on red apples gives you a pretty pink applesauce, which my daughter thinks is absolutely fantastic, since pink is her favorite color!
The process is really quite basic. First, I wash the apples, then cut off any blemishes and quarter them.
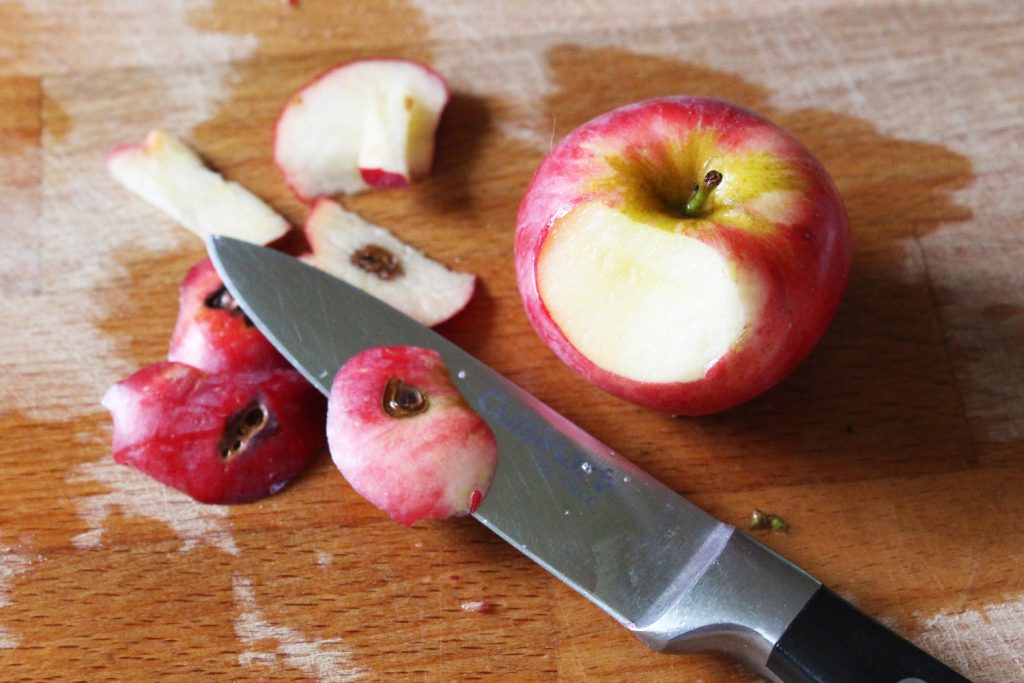
I threw them into the roasters with just a bit of water on the bottom to keep them from sticking. I baked them, covered, in the oven at 350 F until they were very soft. The first pan, with the tighter fitting lid, took around 45 minutes. The second pan I left in for about an hour and 15 minutes.
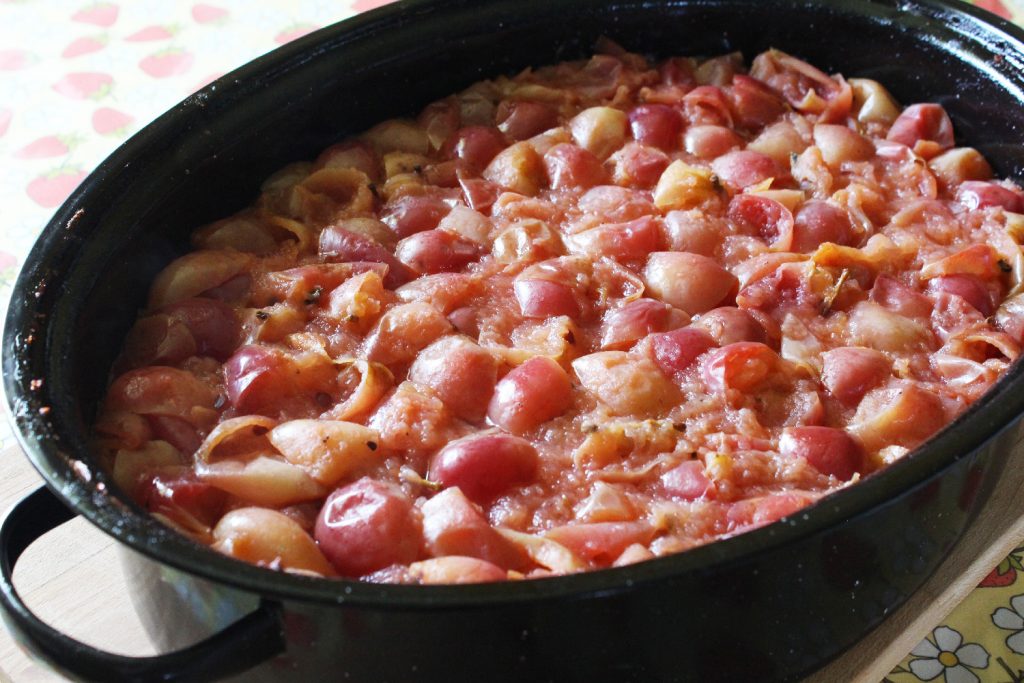
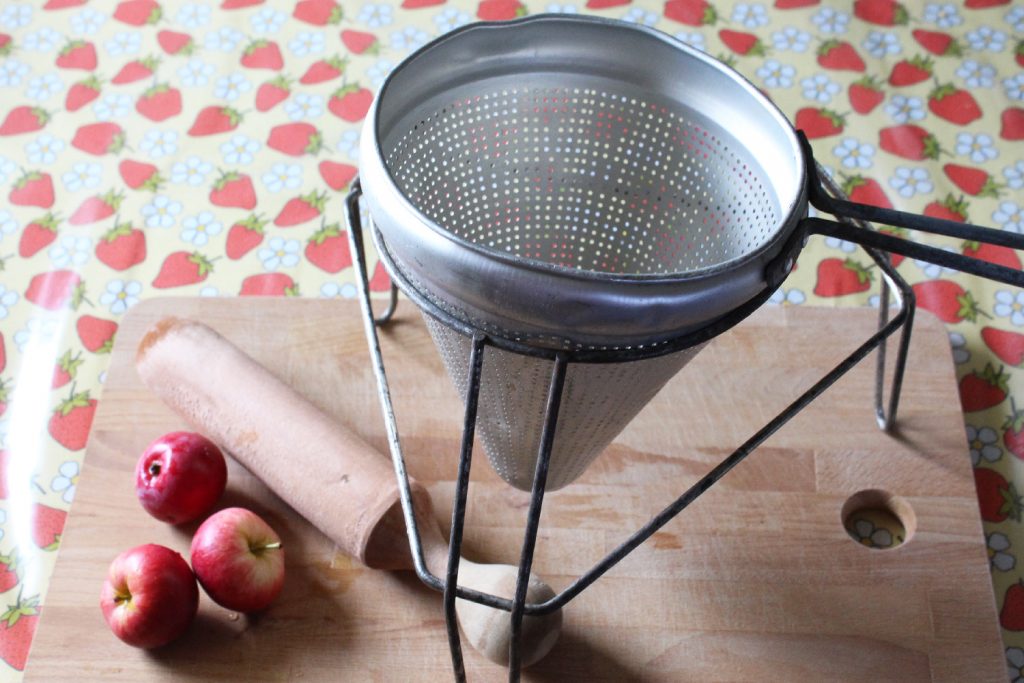
I have this handy device that I use to make apple and tomato sauce. It’s called a chinois or China cap, but I don’t think I’ve every heard anyone actually use either word. It’s a metal cone, with a wooden masher that you use to press cooked apples (or tomatoes) through the holes, which makes a nice, smooth sauce. I got mine at a garage sale ages ago, but I’m sure you can still buy them new. If you plan to make a lot of sauce, it’s a great time-saver. If you don’t have a food mill or chinois, you can push the sauce through a mesh strainer with a wooden spoon, though that is a much fiddlier process.
Taste the sauce, and if it’s too tart, you can add some sugar. You can also add spices, like cinnamon or apple pie spice, but be conservative with it – many spices get stronger over time, and can become overwhelming. In my own case, I’ll add the spices when I use the sauce – I find it more versatile this way, and adding spices takes no time at all. Once you’re happy with the flavor, ladle the sauce into jars, wipe the jar rims with a damp cloth, put on a lid, and tighten it gently.
The National Centre for Home Food Preservation is a reliable site that gives safe canning information. They indicate that applesauce should be processed for 20 minutes in a water bath for my elevation. That’s exactly what I did. If you don’t have a designated canning pot, you can put a tea towel on the bottom of a stock pot to set your jars on, but make sure the pot is deep enough to allow at least one inch (2.5 cm) of water over your jars of sauce.
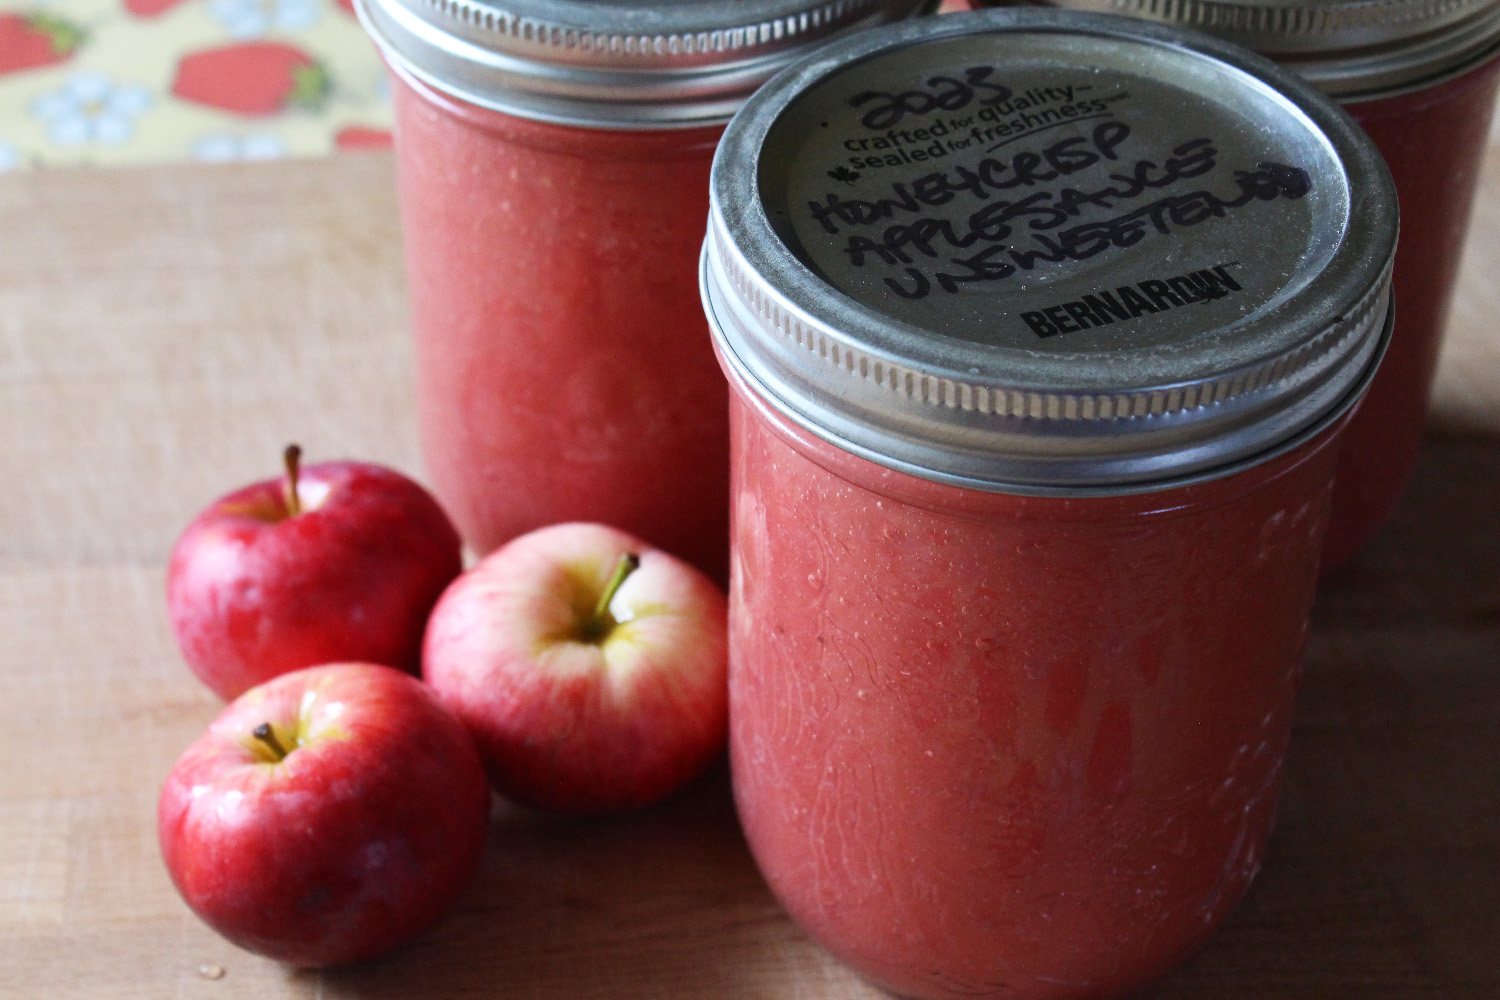
…and voila! Pretty pink applesauce, ready for the pantry. We’ve already done a taste-test using some of the sweetened applesauce on pumpkin pancakes, and that was a real treat! Unfortunately, those disappeared way too fast for me to get a picture…
