Category: Canning

Home / Category: Canning

How to Make and Can Applesauce

September 24, 2023 | Canning, Orchard | No Comments

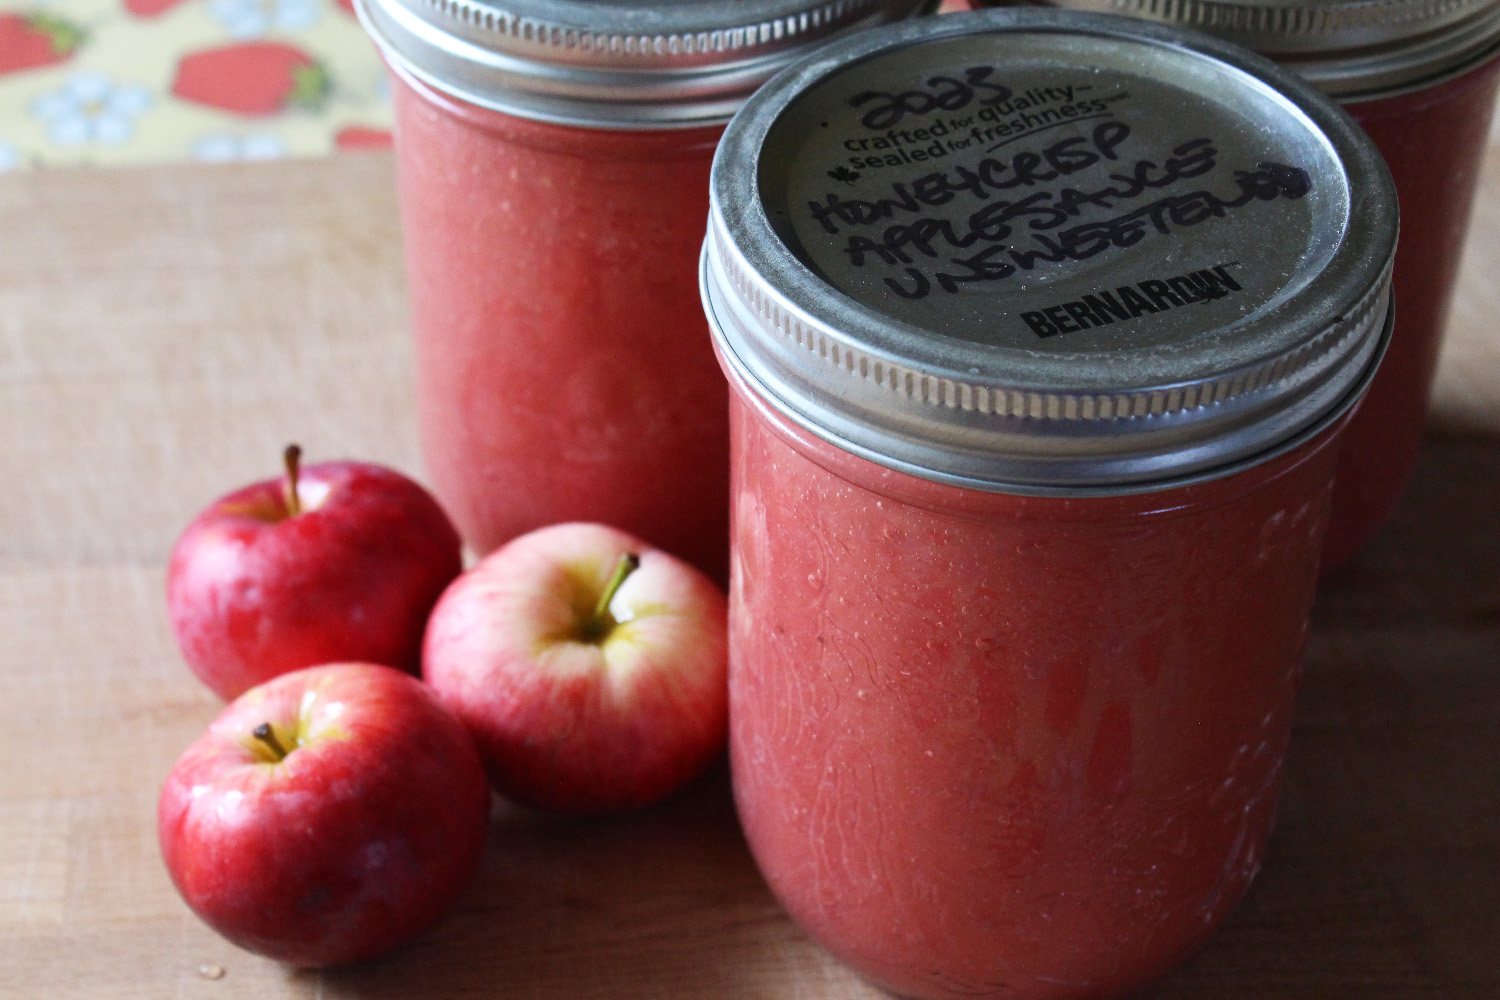
Jars of pink applesauce, ready to go in the pantry, with a few small red apples for decoration.

My little Honeycrisp apple tree outdid itself this year, producing so many apples its branches were drooping from the weight. The early heat and warm fall meant that all of my apples ripened early, by a couple of weeks or more! Normally, I would pick the apples and put them in the root cellar to eat or deal with later, but this year it hasn’t been an option, since it has been unseasonably warm – my root cellar is not cold at all! So I had to find other ways to deal with all those apples.

We picked three very (!) heaping grocery baskets of nice apples, plus a bunch of pecked, hail-damaged, and windfallen apples that went to the chickens. We were able to give away part of one basket to neighbors and friends, and I put most of another basket into gallon ziploc bags (8 of them!) in the fridge to eat later. That left me about one level basket plus two thirds of another to ‘do something’ with.
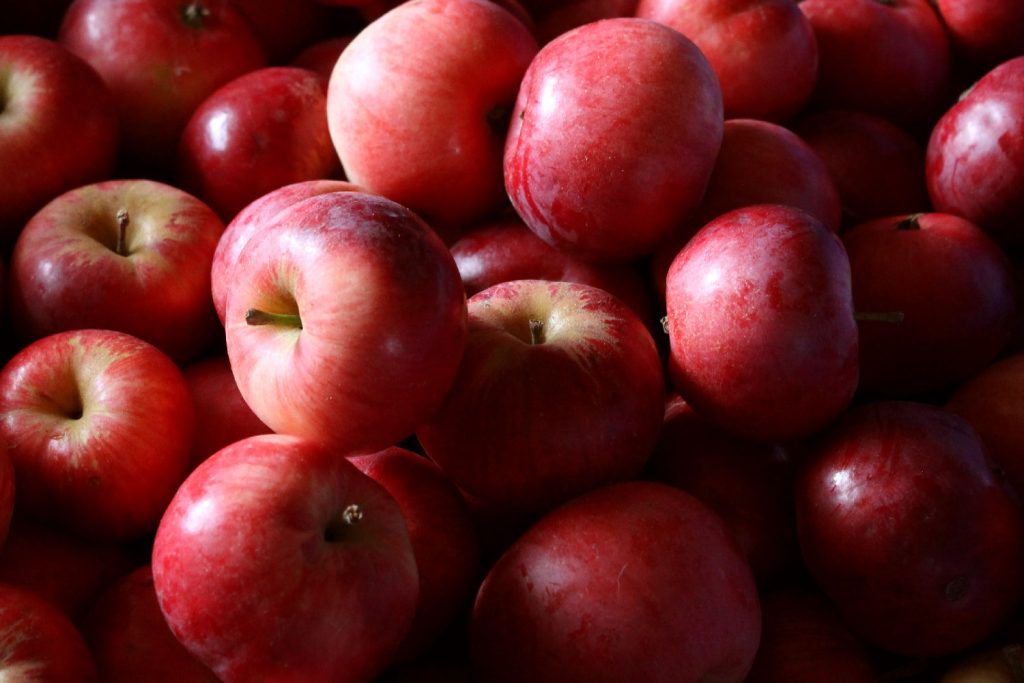
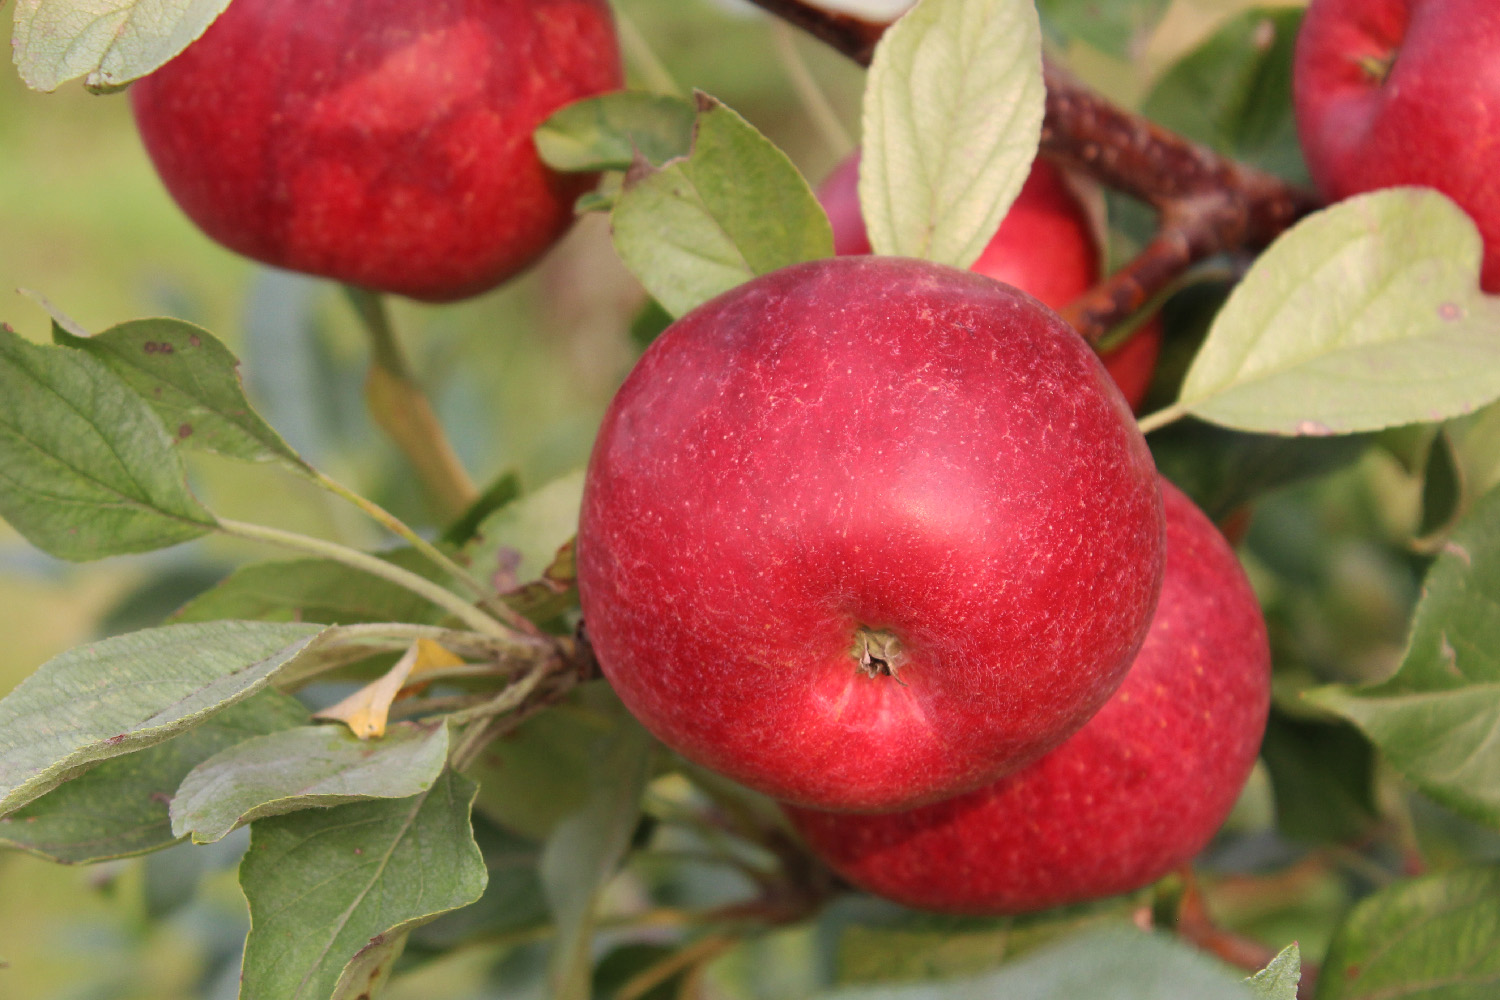
A pile of small red apples for applesauce

We use a fair bit of applesauce, here. Mostly on porridge (my favorite winter breakfast!), but also as a side for pork, and to just eat with a spoon. Because they’d had plenty of late-summer warmth to ripen with, the apples were fairly sweet this year. With my freezer being too full to fit much more in, canned applesauce seemed like the best option.

We haven’t canned applesauce in several years, here. It’s a bit of a fiddly process, and I seemed to remember it sucking up entire weekends. But Friday night after work, I cut up enough apples to fill my big stock pot, boiled them to mush, ran them through my sauce-making device, and canned them up. I timed myself, and it was three hours, start to finish, and I ended up with 7 pints – exactly a canner load – which was perfect. It was also a lot faster than I remembered, and I’m not sure why, but it was certainly encouraging!

Yesterday, I tackled the rest of the apples. I only have one big stock pot suitable for this project, but I have several large roasting pans, so I decided to cook the apples down in the oven, rather than on the stove top. Interestingly, my one roaster has a tighter-fitting lid than the other, and those apples cooked waaaayyy faster than the ones in the roaster with the loose lid.

If you have large apples, you can peel and core them, which makes saucing them easier at the end, especially if you have an immersion blender – just whiz them up and you’re done! I didn’t thin my Honeycrisps, though, and the apples are small, so I just quartered them without peeling, and threw them in the roasters, cores and all. Leaving the peels on red apples gives you a pretty pink applesauce, which my daughter thinks is absolutely fantastic, since pink is her favorite color!

The process is really quite basic. First, I wash the apples, then cut off any blemishes and quarter them.
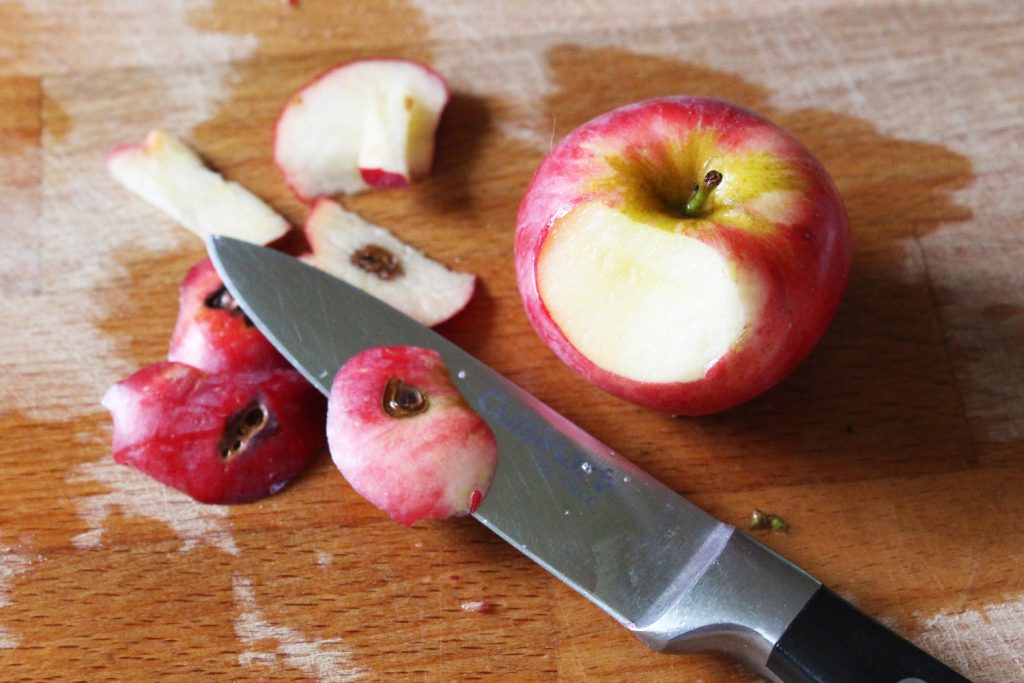
A photo of a blemish being cut off a red apple with a knife.

I threw them into the roasters with just a bit of water on the bottom to keep them from sticking. I baked them, covered, in the oven at 350 F until they were very soft. The first pan, with the tighter fitting lid, took around 45 minutes. The second pan I left in for about an hour and 15 minutes.
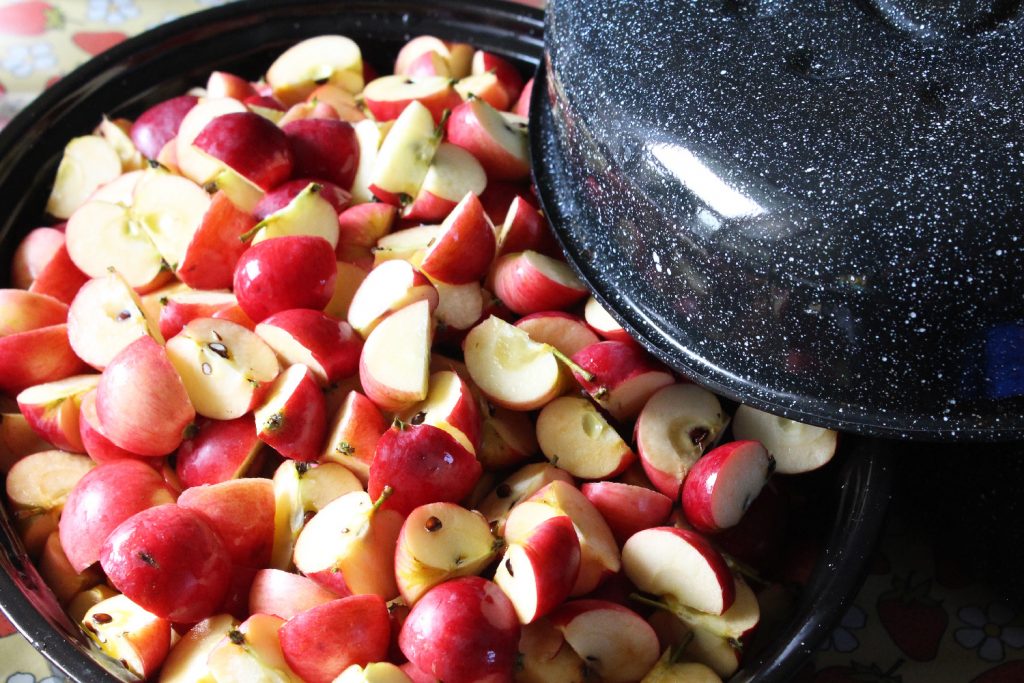
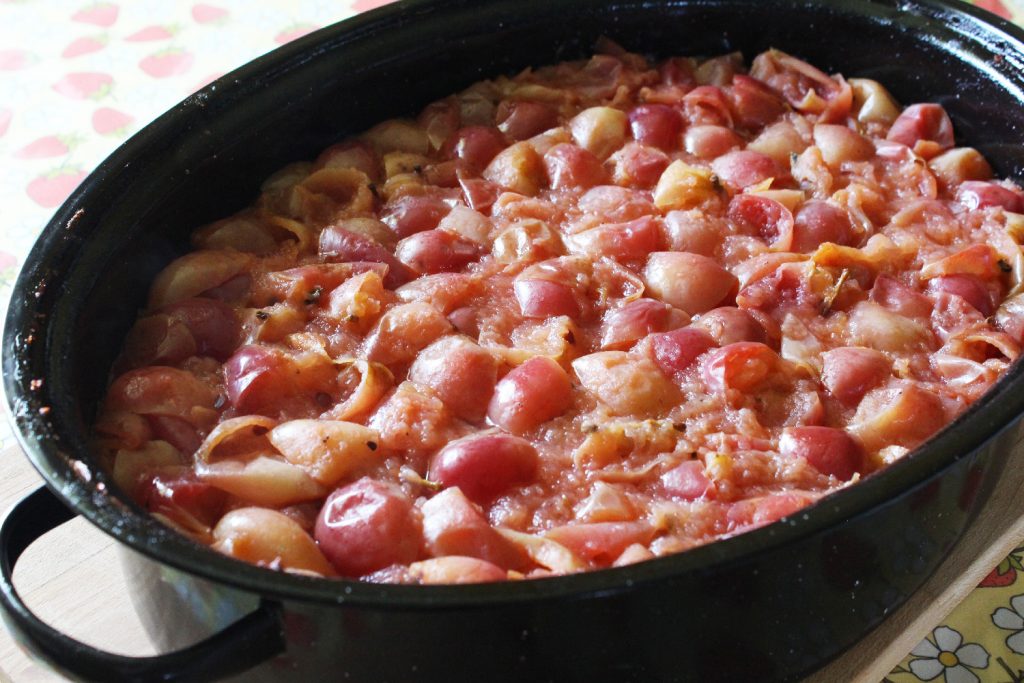
Small apples, cut into quarters, in a roasting pan, ready to be made into sauce.

A roasting pan of cooked quartered apples, ready to be made into sauce.

I have this handy device that I use to make apple and tomato sauce. It’s called a chinois or China cap, but I don’t think I’ve every heard anyone actually use either word. It’s a metal cone, with a wooden masher that you use to press cooked apples (or tomatoes) through the holes, which makes a nice, smooth sauce. I got mine at a garage sale ages ago, but I’m sure you can still buy them new. If you plan to make a lot of sauce, it’s a great time-saver. If you don’t have a food mill or chinois, you can push the sauce through a mesh strainer with a wooden spoon, though that is a much fiddlier process.
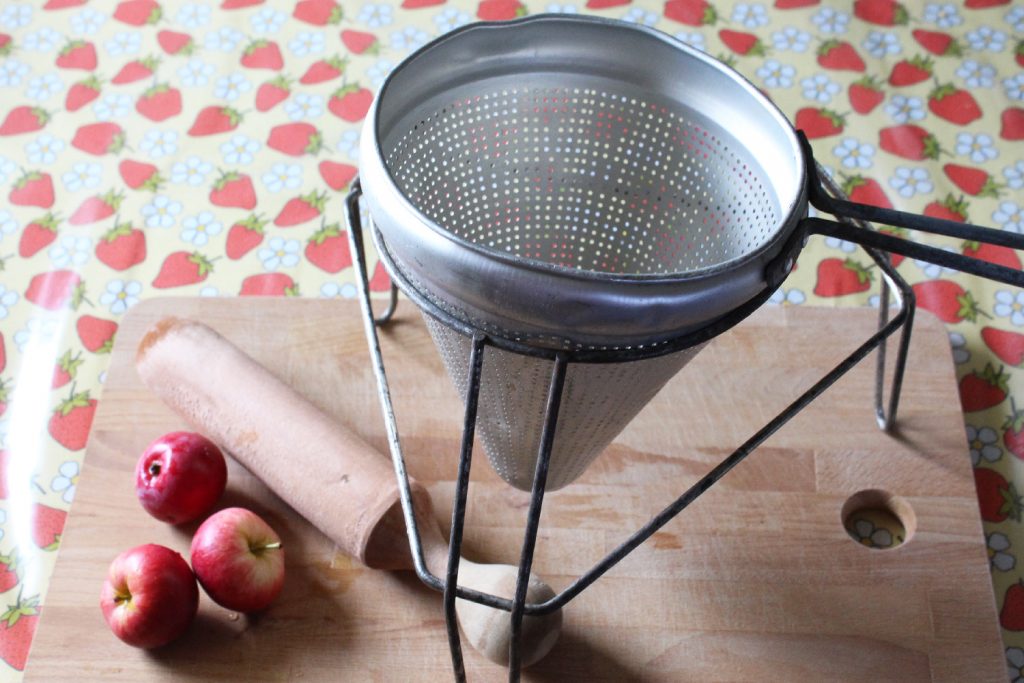
A chinois, or Chinese Cap, a tool for saucing apples or tomatoes.

Taste the sauce, and if it’s too tart, you can add some sugar. You can also add spices, like cinnamon or apple pie spice, but be conservative with it – many spices get stronger over time, and can become overwhelming. In my own case, I’ll add the spices when I use the sauce – I find it more versatile this way, and adding spices takes no time at all. Once you’re happy with the flavor, ladle the sauce into jars, wipe the jar rims with a damp cloth, put on a lid, and tighten it gently.

The National Centre for Home Food Preservation is a reliable site that gives safe canning information. They indicate that applesauce should be processed for 20 minutes in a water bath for my elevation. That’s exactly what I did. If you don’t have a designated canning pot, you can put a tea towel on the bottom of a stock pot to set your jars on, but make sure the pot is deep enough to allow at least one inch (2.5 cm) of water over your jars of sauce.

…and voila! Pretty pink applesauce, ready for the pantry. We’ve already done a taste-test using some of the sweetened applesauce on pumpkin pancakes, and that was a real treat! Unfortunately, those disappeared way too fast for me to get a picture…
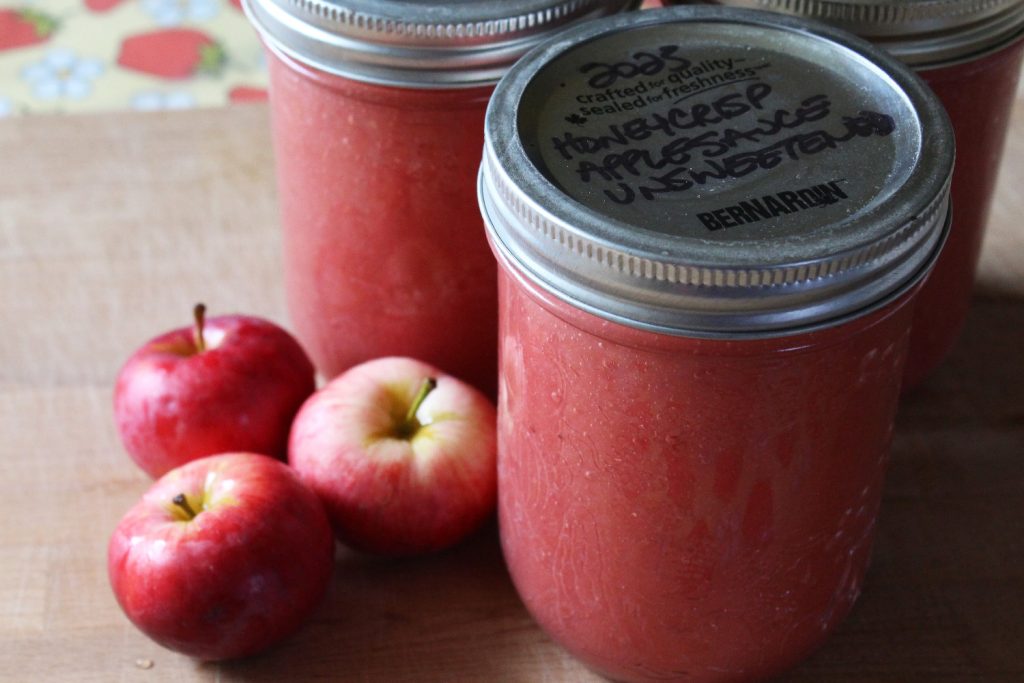
Jars of pink applesauce, ready to go in the pantry, with a few small red apples for decoration.

By Jess
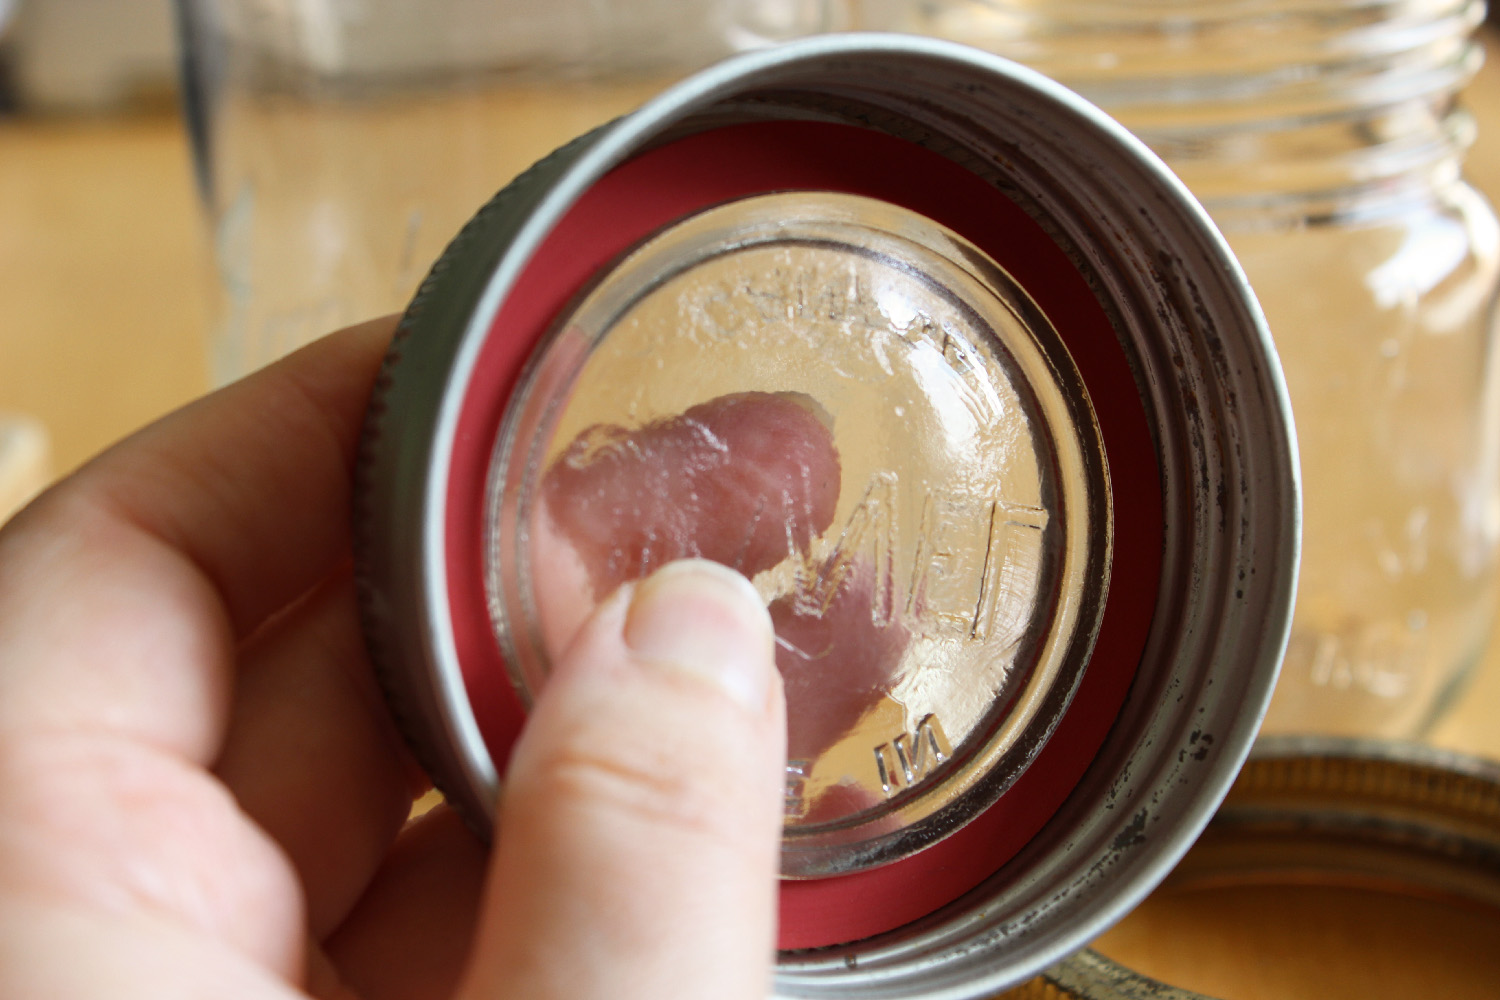
An image of the author holding an antique glass 78mm canning lid in an antique zinc screw band.

This weekend, I started experimenting with canning with glass lids on my Gem jars.

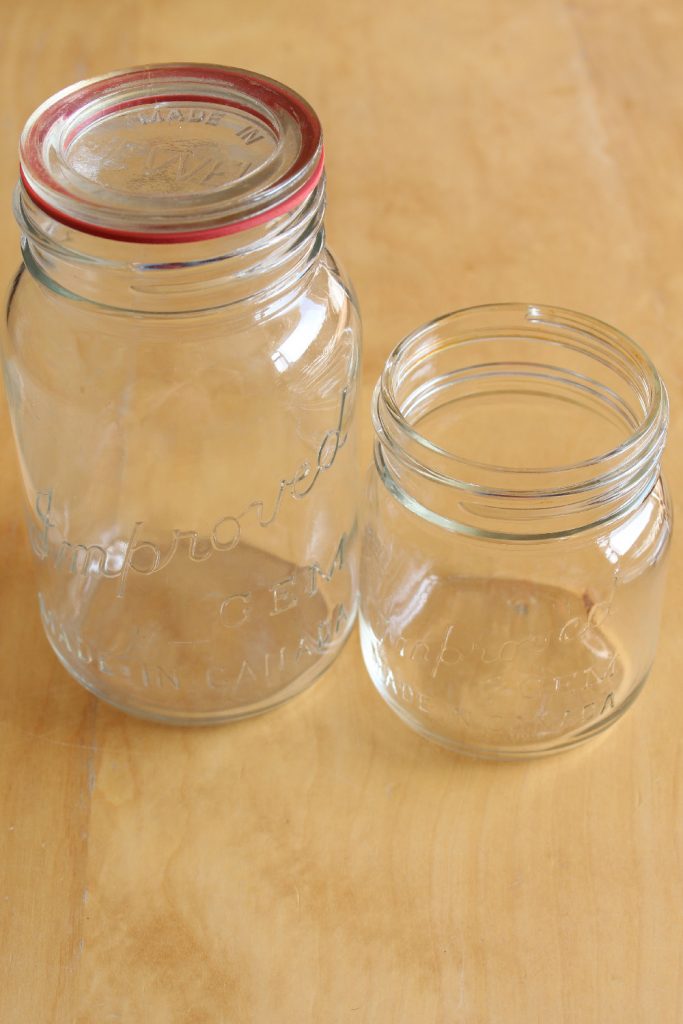
In Canada, especially Western Canada, we have a unique size of canning jar, with a 78mm mouth. They were produced up until the late 1990’s or early 2000’s, and were sold under a variety of brand names, including Gem, Jewel, and Crown. Originally, these jars used a glass lid, with a rubber gasket underneath to allow a seal to form; however, when the metal lids became available, most home canners switched over to those. This blog has an interesting article on the history of 78mm mouth jars and lids in Canada.

A picture of an antique Gem 78mm quart canning jar and an antique Gem 78mm pint canning jar

I have a sizeable collection of Gem and Jewel jars. Some were inherited from family members, and others I acquired from yard sales. Even though the jars were discontinued before I ever started canning, I preferred them, because the 78mm mouth is a nice size for peach and pear halves, and the jars themselves have a bit of a shoulder that helps to keep canned fruit under the liquid. Plus, I could get them for a couple dollars a dozen at the yard sales, and I’m cheap. Up until this spring, you could still get new lids and bands for the 78mm mouth size in a variety of local stores, so I was happy to keep using them.

Unfortunately, Bernardin, the last lid manufacturer in Canada, discontinued the lids in the spring of 2022. They tried to discontinue these lids once before, in the early 2000’s, but there was such an outcry that they relented, and continued making them for another 20 years! However, it doesn’t look like they are going to change their minds this time. I got more than a little panicky about this, and asked my friends across the country to scour stores for the last remaining lids. I have a few years’ worth of lids, now, and plenty of bands, so I’m good for a little while, but with the price of canning jars right now, I was dreading the cost of trying to replace my dozens (hundreds?) of Gem jars with modern wide-mouth jars between now and when my lid stash runs out.

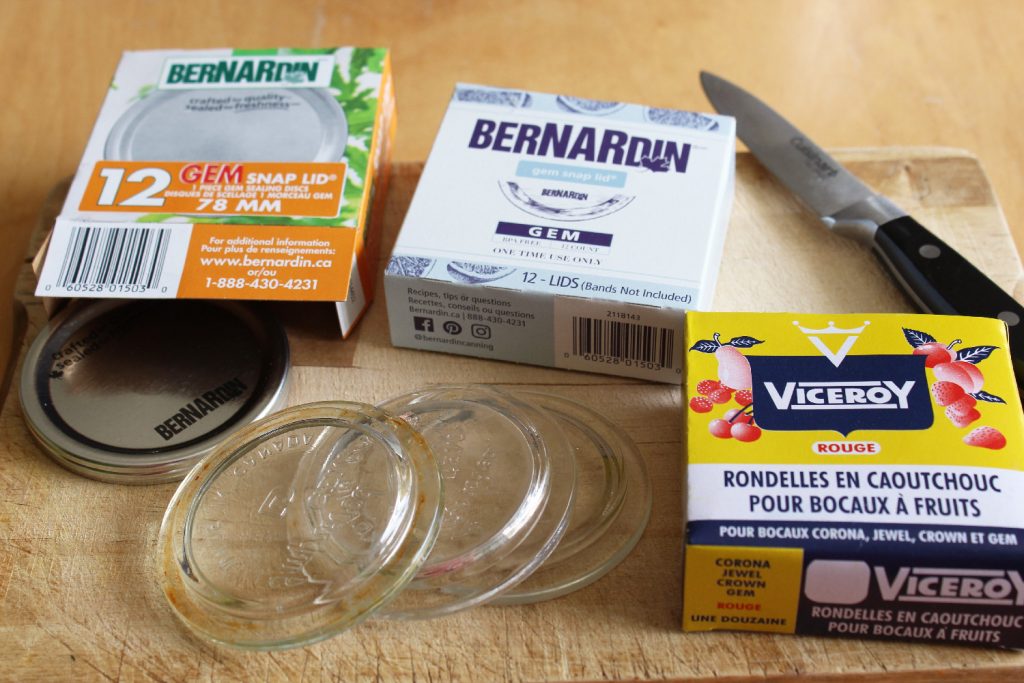
A picture of various lids for use with antique 78mm Gem, Jewel, and Crown canning jars.

I was cleaning in my basement late this summer, and came across a box that had been shoved in a dark corner since we moved here. In the box…surprise! A huge collection of the old glass Gem lids, with a big stack of the old deep zinc bands that were made to accommodate them! My mother-in-law had saved her glass lids when she switched over to metal ones, and must have given me her collection just before we moved.

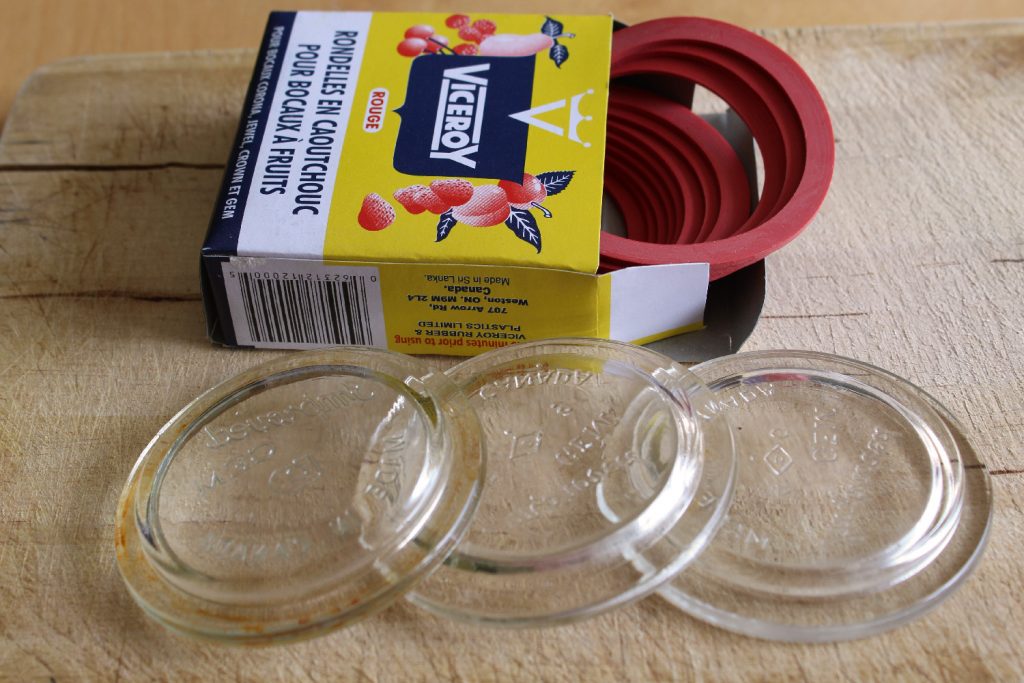
This prompted me to do a little googling, to see if I could still get the rubber gaskets for these lids, and wouldn’t you know it, but Canadian Tire still carries them! I have also seen them at our local Co-op Grocery store and at Peavey Mart. They are sold under the brand name Viceroy, and are not at all expensive, so I’m planning on buying a bunch. From my internet research and from speaking with my mother-in-law, the gaskets can be re-used for years, until they get stretched or until they start cracking, which is also handy. Financially, using a $2 box of gaskets for several years is way better than replacing a $6 box of metal lids annually, so that’s another bonus to the glass lids.

Glass lids and Viceroy rubber rings for use with 78mm antique Gem, Jewel, and Crown canning jars.

Having gotten my hands on all the necessary parts, I decided to try canning with glass lids this weekend. Anecdotally, a number of my friends have reported that they have more seal failures with their Tattler reusable lids, so I thought I might run into that with the glass ones, too. I was doing a second batch of pickled plums yesterday, mostly because I needed to use up the plums, so a few seal failures wouldn’t be a disaster. Worst-case scenario, we could throw the jars in the fridge and turn the kids loose on them. Plus, with pickles, if I have a seal failure later, I’m less likely to end up with a fizzy, fuzzy mess in the pantry.

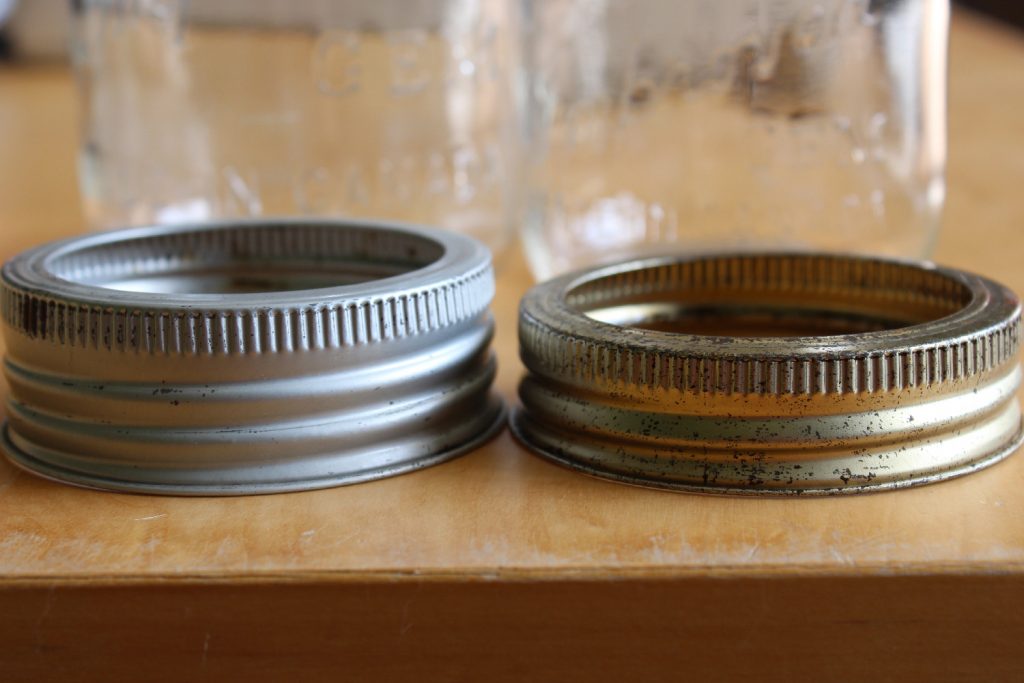
I found a couple of resources for using the glass lids – this youtube video shows you the process, and this blogger also goes through it, step-by-step, an a three-part series. Interestingly, the blog post noted that the modern bands can be used with the glass lids, which I did not know. I was a little dubious, since there is a substantial difference in the depths of the two styles of ring, but what the heck – I decided to experiment with that, too.

A comparison photo of an antique 78mm screw band to use with glass lids and a modern 78mm ring for use with metal lids on antique Gem, Jewel, and Crown canning jars.

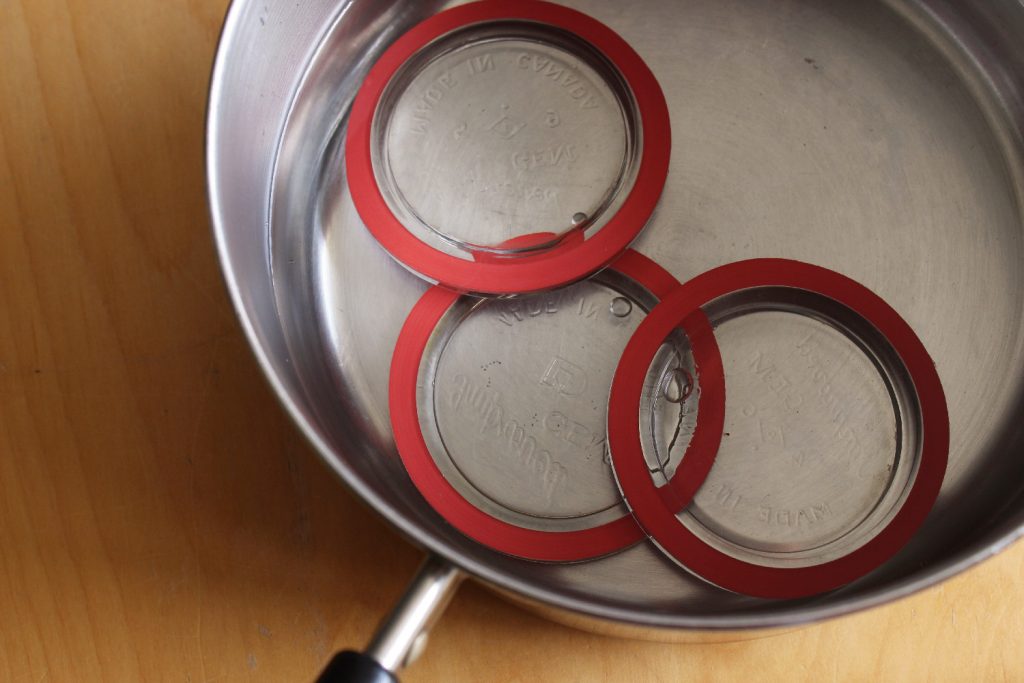
What I did was scrub the glass lids very thoroughly with a toothbrush to get off any dust or goo, then put a rubber ring on each lid. I found that the rubber rings seem to have a ‘right way’; if one was fighting and not staying on well, flipping it over seemed to solve the problem. Then I put the lids, with the gaskets, into a pot, which I simmered on the stove while I made the brine for the pickles. It seems that the recommendation is to boil them for at least ten minutes; mine probably simmered for closer to half an hour, and that did not seem to cause any issues. I used kitchen tongs to grab the lid/gasket sets out of the boiling water and put them on the jars, which worked great.

A photo of 78mm antique glass lids with Viceroy rubber gasket rings on them, in a pot, ready to boil.

I filled my jars a bit less than I otherwise might; with raw pack fruit, I usually do that anyhow. When I put on the rings, I didn’t crank them down tight; I put them on snugly, then backed them off just a tiny bit. I got that from the recommendations for how to use Tattler reusable lids, and it seemed like a good idea. For my canner load of 7 pints, I used the old deep bands for 4 of my jars, and the modern shallow bands for the other 3. When the processing time was done, I turned off the burner and let the jars rest for 5 minutes in the canner. I haven’t seen this recommended anywhere, but I find it reduces siphoning, and it doesn’t seem to affect how the jars seal. Then, I took the jars out and tightened the bands down as much as I could. The shallow rings actually felt easier to tighten than the deep rings, which is interesting.

I was so excited to check my jars that it was hard to leave them on the counter and go to bed without fiddling with them. This morning, though, I went and took off those bands first thing, before I even had coffee! I took off each band, poked each lid a bit to see if it would move, then picked up each jar by the lid. I didn’t lift them far off the counter, less than an inch, but enough that the lid was taking the full weight of the jar. If it didn’t seal, or formed a weak seal, the lid would pop off, so don’t lift too far, or you could have a mess on your hands! My mother-in-law mentioned that her mom would also flip the jars over and watch for bubbles sucking into the jar, which would also suggest a seal failure, so I tried that, too, but I kept a couple of fingers over the lid so that the contents wouldn’t pour out if the seal was bad.

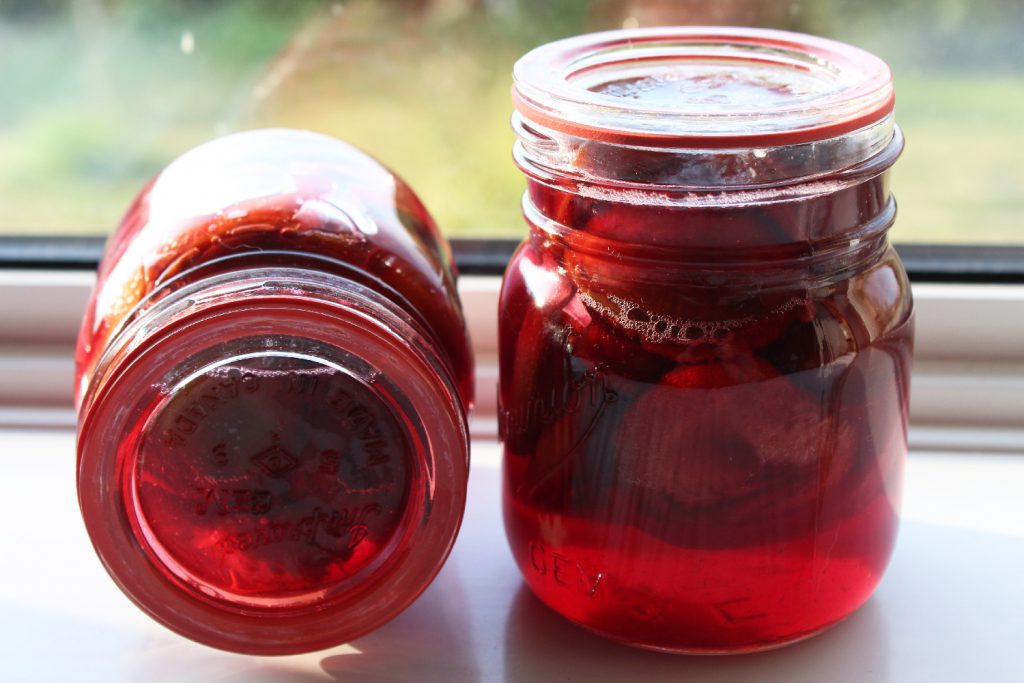
Two antique Gem pint jars of pickled plums, successfully canned using antique glass lids and Viceroy rubber gaskets.

Success! All seven jars sealed!

Seven jars is too small a sample size to tell if I will have the same failure rate with glass lids that I do with metal ones, which is usually about 1 jar failing to seal out of every 2-3 canner loads. I’d even be okay with a seal failure in every 1-2 canner loads, as I usually want to sample things anyhow, and we have plenty of fridge space. I also don’t know if the seals will hold as well or as long as they do with the metal lids, so I guess I will have to report back in a year or so, but for now, I’m happy to have a way to keep using my Gem jars.

By Jess