Month: September 2023

Home / Month: September 2023

How to Make and Can Applesauce

September 24, 2023 | Canning, Orchard | No Comments

Jars of pink applesauce, ready to go in the pantry, with a few small red apples for decoration.

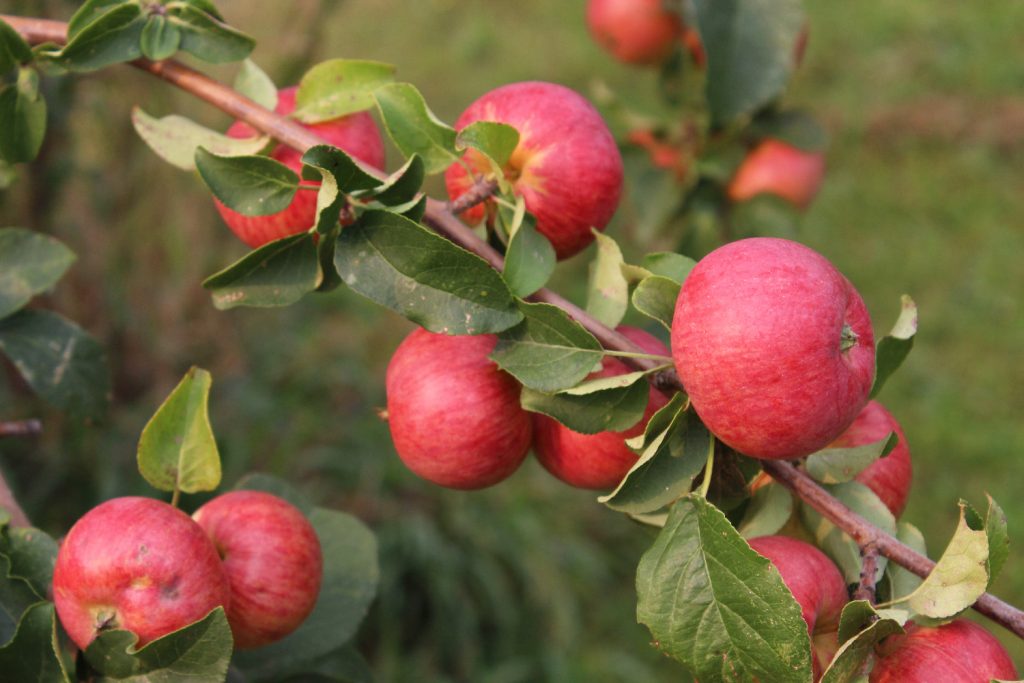
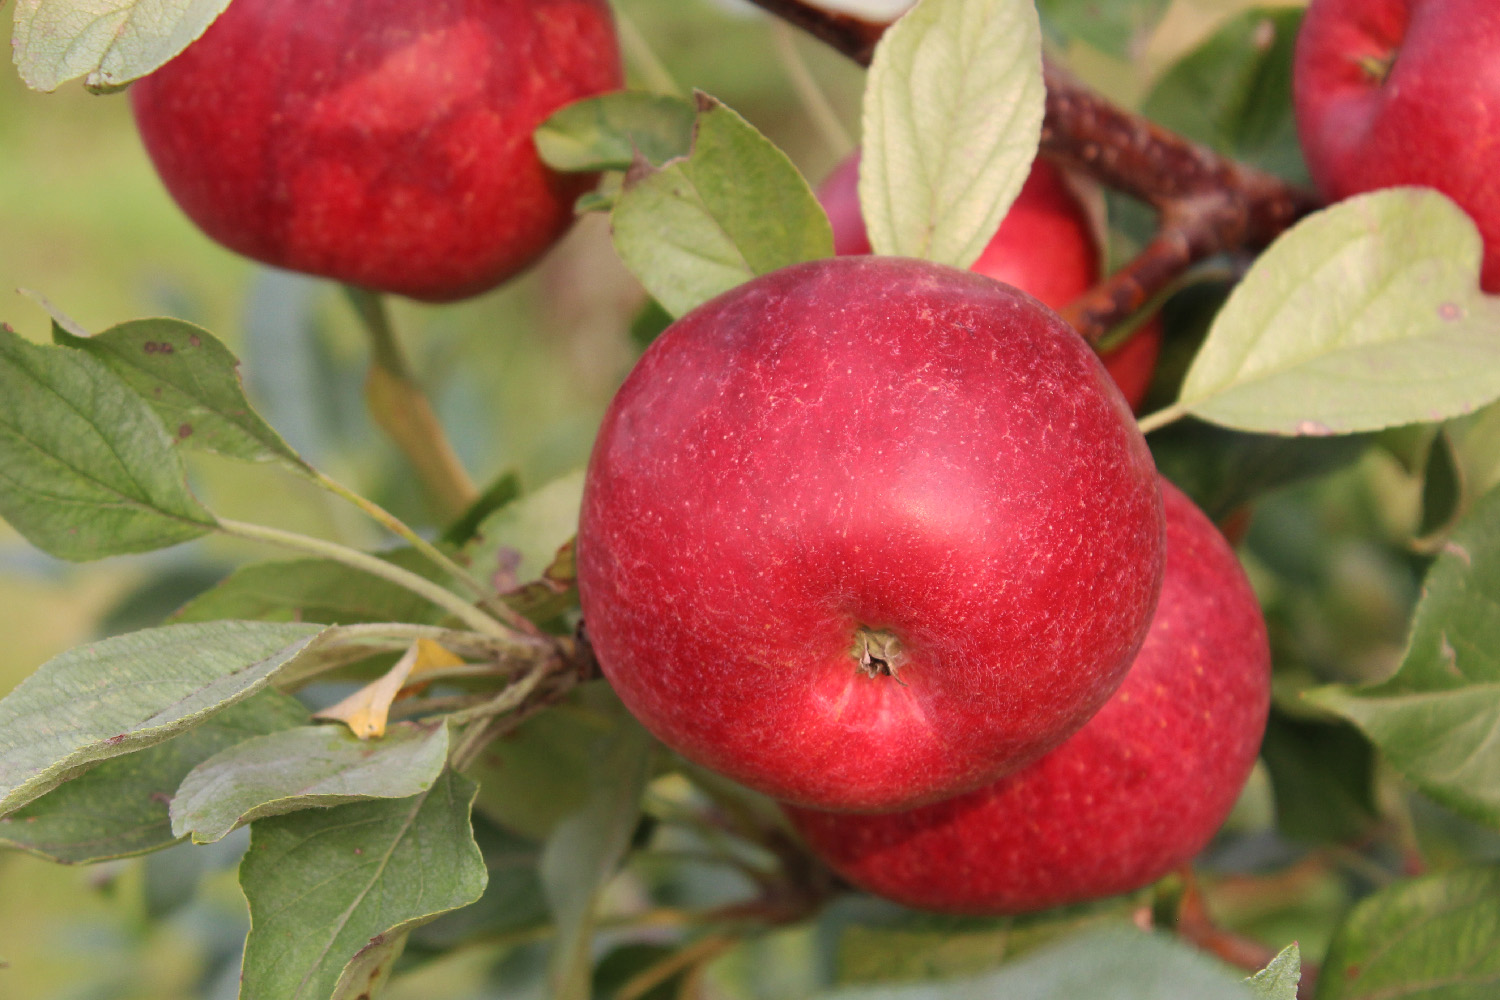
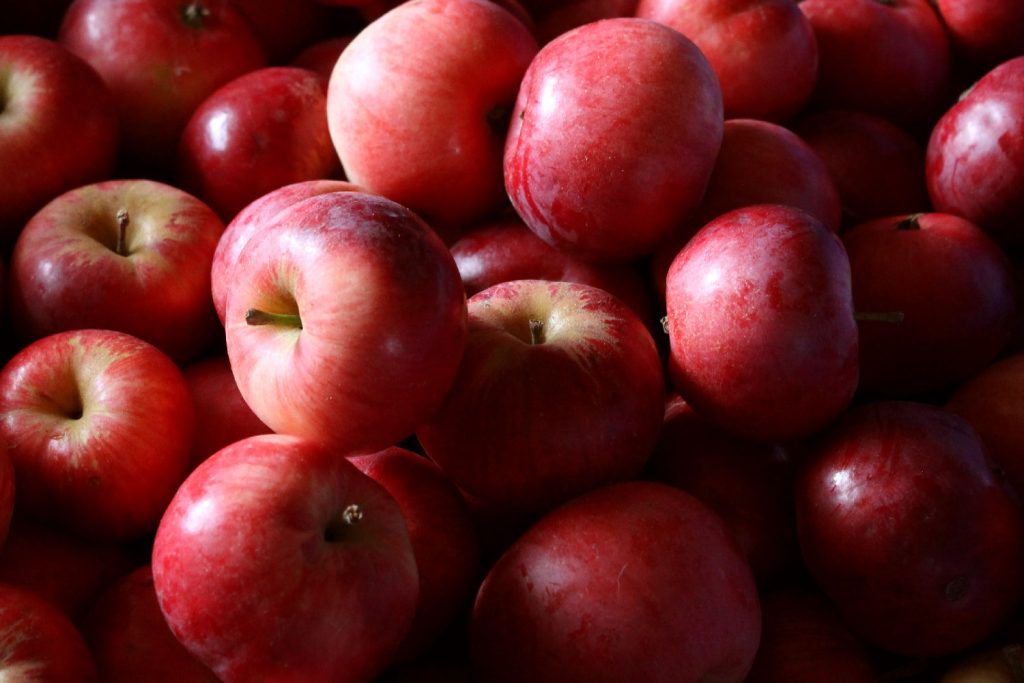
My little Honeycrisp apple tree outdid itself this year, producing so many apples its branches were drooping from the weight. The early heat and warm fall meant that all of my apples ripened early, by a couple of weeks or more! Normally, I would pick the apples and put them in the root cellar to eat or deal with later, but this year it hasn’t been an option, since it has been unseasonably warm – my root cellar is not cold at all! So I had to find other ways to deal with all those apples.

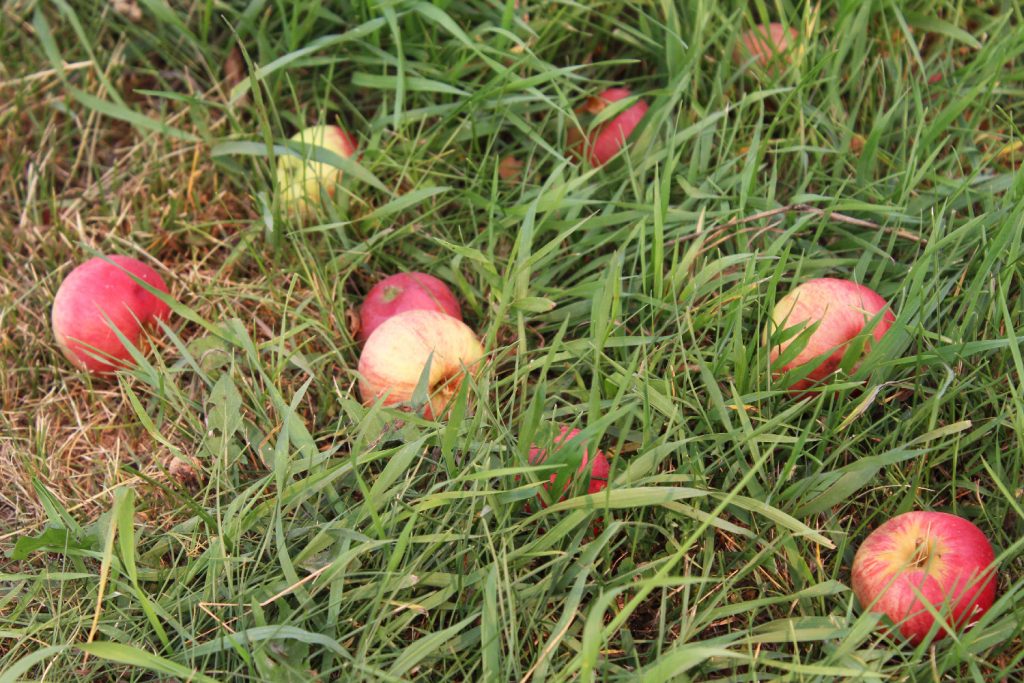
We picked three very (!) heaping grocery baskets of nice apples, plus a bunch of pecked, hail-damaged, and windfallen apples that went to the chickens. We were able to give away part of one basket to neighbors and friends, and I put most of another basket into gallon ziploc bags (8 of them!) in the fridge to eat later. That left me about one level basket plus two thirds of another to ‘do something’ with.

A pile of small red apples for applesauce

We use a fair bit of applesauce, here. Mostly on porridge (my favorite winter breakfast!), but also as a side for pork, and to just eat with a spoon. Because they’d had plenty of late-summer warmth to ripen with, the apples were fairly sweet this year. With my freezer being too full to fit much more in, canned applesauce seemed like the best option.

We haven’t canned applesauce in several years, here. It’s a bit of a fiddly process, and I seemed to remember it sucking up entire weekends. But Friday night after work, I cut up enough apples to fill my big stock pot, boiled them to mush, ran them through my sauce-making device, and canned them up. I timed myself, and it was three hours, start to finish, and I ended up with 7 pints – exactly a canner load – which was perfect. It was also a lot faster than I remembered, and I’m not sure why, but it was certainly encouraging!

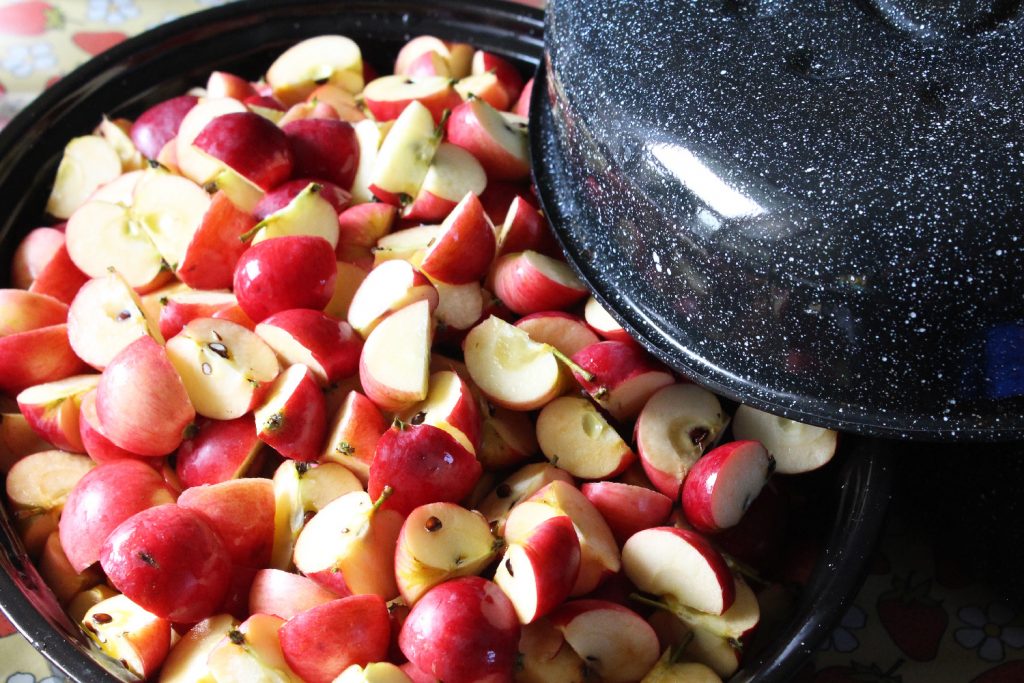
Yesterday, I tackled the rest of the apples. I only have one big stock pot suitable for this project, but I have several large roasting pans, so I decided to cook the apples down in the oven, rather than on the stove top. Interestingly, my one roaster has a tighter-fitting lid than the other, and those apples cooked waaaayyy faster than the ones in the roaster with the loose lid.

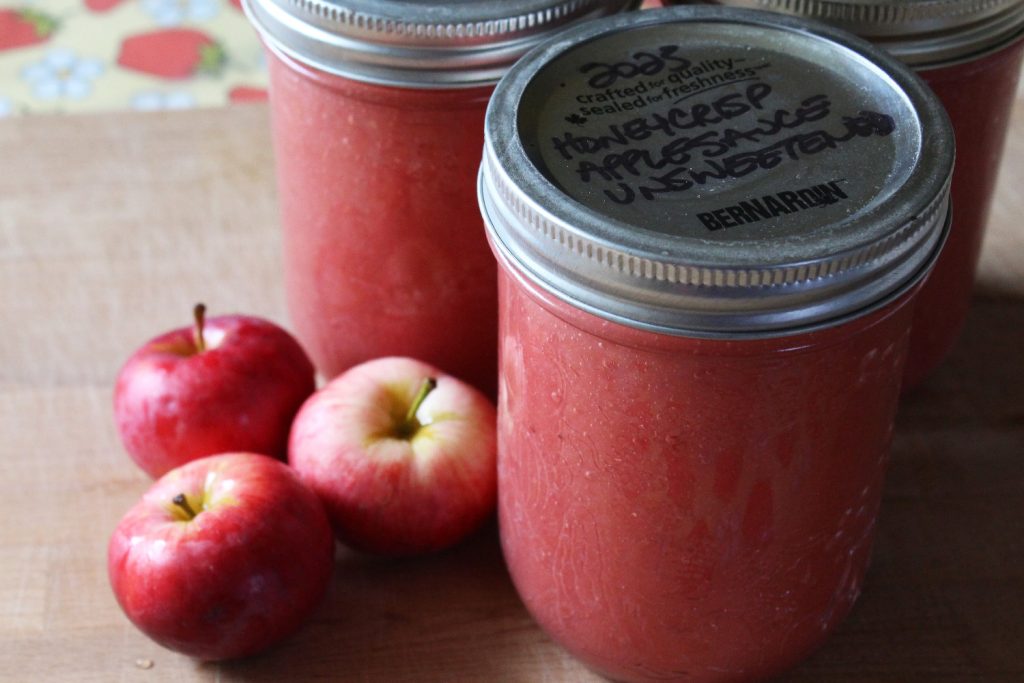
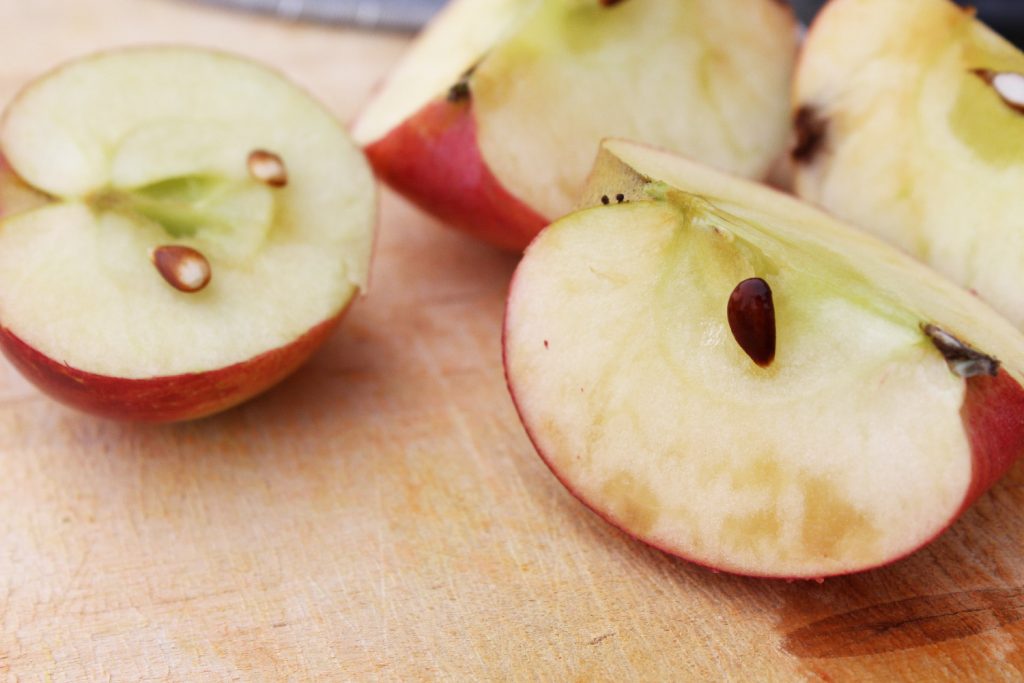
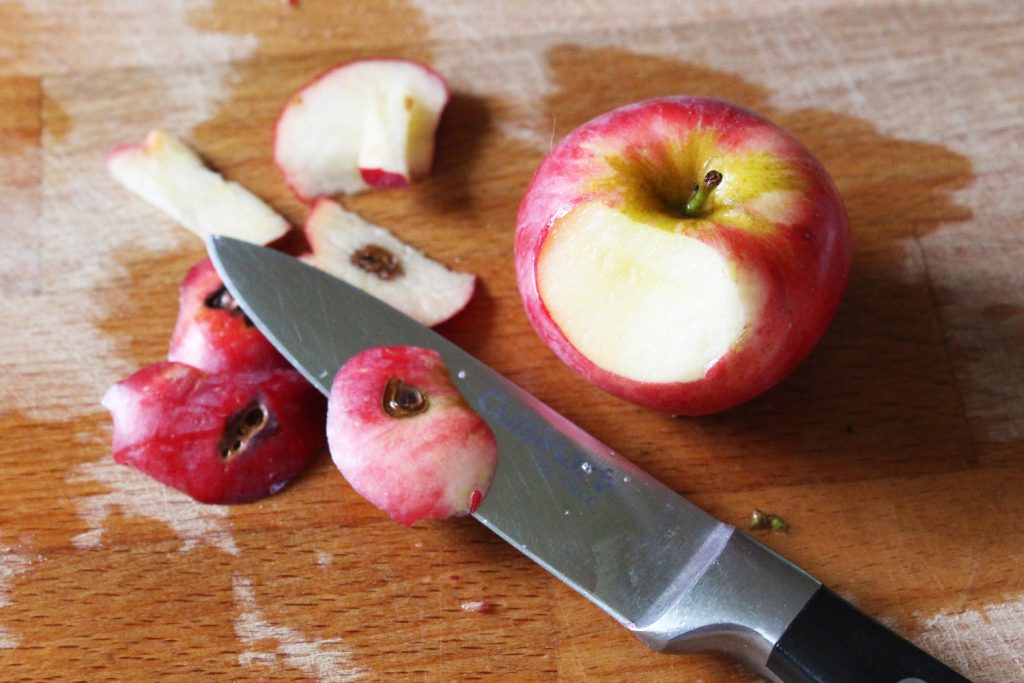
If you have large apples, you can peel and core them, which makes saucing them easier at the end, especially if you have an immersion blender – just whiz them up and you’re done! I didn’t thin my Honeycrisps, though, and the apples are small, so I just quartered them without peeling, and threw them in the roasters, cores and all. Leaving the peels on red apples gives you a pretty pink applesauce, which my daughter thinks is absolutely fantastic, since pink is her favorite color!

The process is really quite basic. First, I wash the apples, then cut off any blemishes and quarter them.

A photo of a blemish being cut off a red apple with a knife.

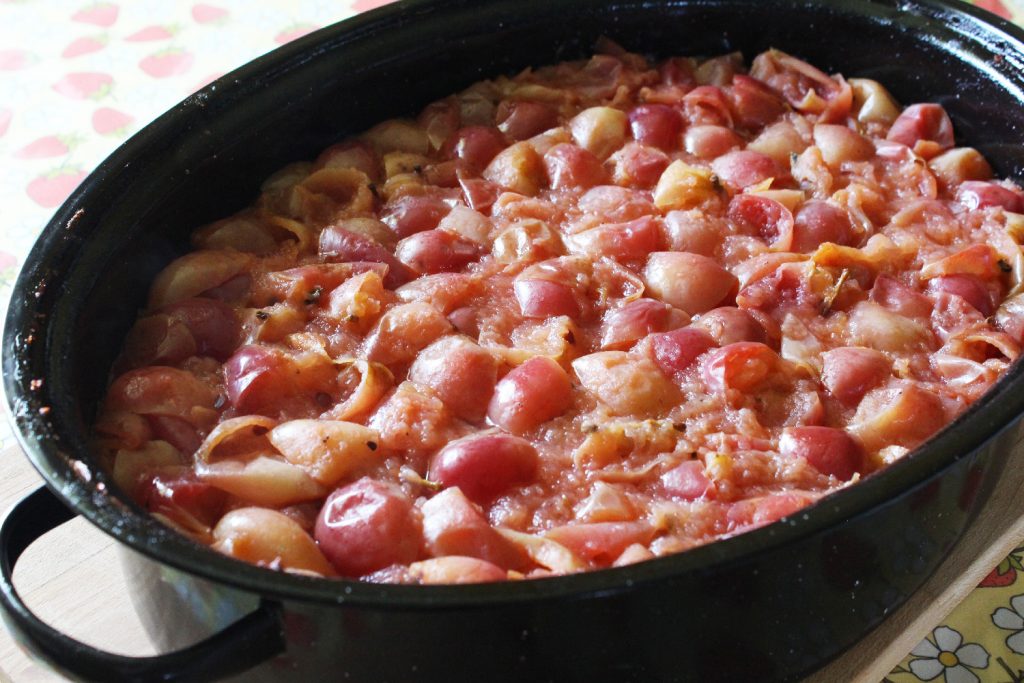
I threw them into the roasters with just a bit of water on the bottom to keep them from sticking. I baked them, covered, in the oven at 350 F until they were very soft. The first pan, with the tighter fitting lid, took around 45 minutes. The second pan I left in for about an hour and 15 minutes.

Small apples, cut into quarters, in a roasting pan, ready to be made into sauce.

A roasting pan of cooked quartered apples, ready to be made into sauce.

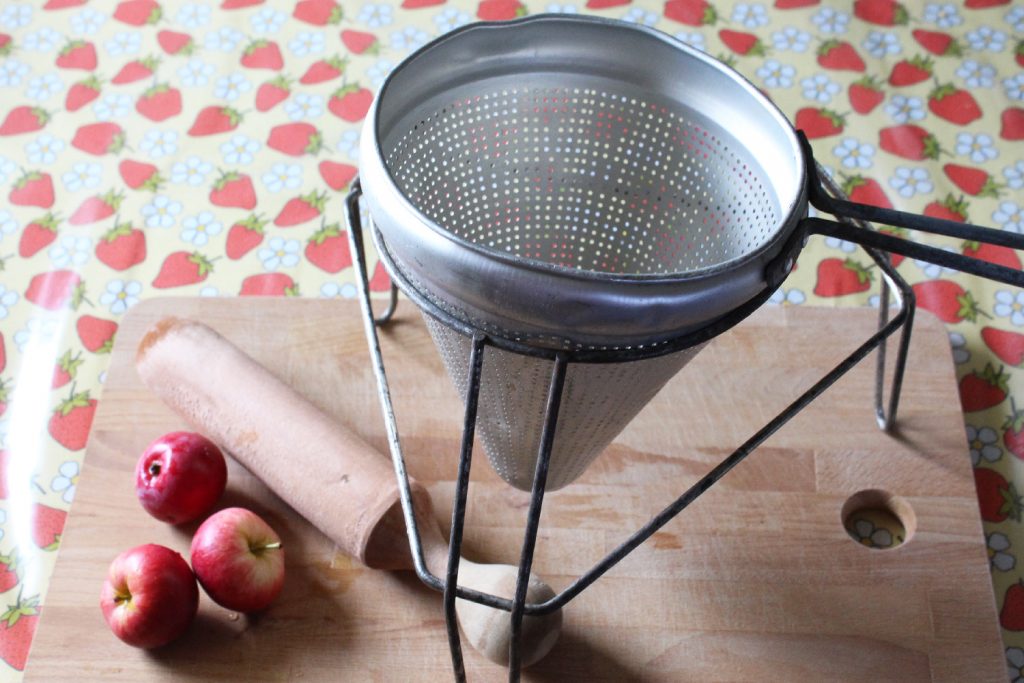
I have this handy device that I use to make apple and tomato sauce. It’s called a chinois or China cap, but I don’t think I’ve every heard anyone actually use either word. It’s a metal cone, with a wooden masher that you use to press cooked apples (or tomatoes) through the holes, which makes a nice, smooth sauce. I got mine at a garage sale ages ago, but I’m sure you can still buy them new. If you plan to make a lot of sauce, it’s a great time-saver. If you don’t have a food mill or chinois, you can push the sauce through a mesh strainer with a wooden spoon, though that is a much fiddlier process.

A chinois, or Chinese Cap, a tool for saucing apples or tomatoes.

Taste the sauce, and if it’s too tart, you can add some sugar. You can also add spices, like cinnamon or apple pie spice, but be conservative with it – many spices get stronger over time, and can become overwhelming. In my own case, I’ll add the spices when I use the sauce – I find it more versatile this way, and adding spices takes no time at all. Once you’re happy with the flavor, ladle the sauce into jars, wipe the jar rims with a damp cloth, put on a lid, and tighten it gently.

The National Centre for Home Food Preservation is a reliable site that gives safe canning information. They indicate that applesauce should be processed for 20 minutes in a water bath for my elevation. That’s exactly what I did. If you don’t have a designated canning pot, you can put a tea towel on the bottom of a stock pot to set your jars on, but make sure the pot is deep enough to allow at least one inch (2.5 cm) of water over your jars of sauce.

…and voila! Pretty pink applesauce, ready for the pantry. We’ve already done a taste-test using some of the sweetened applesauce on pumpkin pancakes, and that was a real treat! Unfortunately, those disappeared way too fast for me to get a picture…

Jars of pink applesauce, ready to go in the pantry, with a few small red apples for decoration.

By Jess

How To Tell If Your Apples Are Ripe

September 4, 2023 | Orchard | 1 Comment

A close-up of ripe red apples on a branch.

We have a number of apple trees here are our acreage, and several of them are producing apples each year. Unfortunately, we don’t know what all of the varieties are, and even if we did, the hot weather is messing with our apples’ usual ripening times. Given that different apple varieties can ripen anywhere from late July right into November (in climates that allow it), it can be a real challenge to figure out when to harvest your tree. While apples will ripen a bit once they are picked, it is much better to wait until they are ripe or just about ripe, in order to get the best flavor. So how do you know when your apples are ripe?

Our first clue is when the apples start to turn color. On one tree, the apples go from greenish to yellowish, with red flecks or stripes over top. On another, the apples turn mostly a lovely, dark red, with greenish skin where the sun didn’t hit them. That’s a useful clue if your trees have been producing for a while, but it’s not so helpful if this is the first or second year that tree has borne apples, as you may not know what color they are supposed to be. Having said that, most apples will at least go from ‘green-green’ to a more faded, yellowish base color, even if they don’t ripen completely red (or red at all).

Several ripe red apples hanging on branch.

Another hint is if the apples start to fall off the tree of their own accord, in a light wind, or if you brush them passing by. Sometimes, though, this means you’re too late, and the apples will have become mealy. It really depends on your tree, and experience will be the best guide, with that. We have one tree where the apples are really mealy by the time they are dropping off the tree, while another starts dropping apples before most of them are even really ripe. So again, this is a more useful clue if the tree has been bearing for a few years, and if you have been paying attention.

Several ripe apples that have fallen into the grass at the base of the apple tree.

I often check for ripeness by giving a couple of apples a gentle tug, or a bit of a lift (toward the branch) and twist. Ripe apples tend to be quite easy to pick, and if you lift/tug with the same force each time, one day the apples will come off nicely, and at that point, they are probably ripe. Of course, there’s an exception that proves every rule, and I have a crabapple where the apples are never, ever easy to pick – they hang on the tree halfway through the winter – so this trick won’t work for every tree. It’s useful a lot of the time, though.

The two most accurate ways to tell if your apples are ripe are to cut them and look at the seeds, and to actually taste them. Tasting them will let you know for sure if they are ripe, but unripe apples can be quite an unpleasant surprise, especially if they’ve turned color and look like they should be sweet. Cutting the apple open, on the other hand, will tell you if it is ripe, and if it is, you can taste it without fear. A ripe apple will have very dark brown seeds (the inside of the seeds will still be white if you cut them in half, though), while an unripe apple will have white or light tan seed coats. You can see in the picture below that the apple on the right has dark seeds, indicating ripeness, while the one on the left has lighter tan and white seeds, and is not quite ripe.

Two apples, cut open to show the color of the pips, to help determine ripeness.

We’re right in the middle of our apple harvest, here, as most of our trees are earlier apples, given our short season and early frosts. Hopefully, yours are ripe, soon, too!

By Jess

Garden Advice: Grow What’s Easy

September 4, 2023 | Gardening | No Comments

An orange wheelbarrow full of different sizes, shapes, and colors of squash.

I really love sweet potatoes. Before we ever moved to the country, I had a lot of favorite recipes that called for sweet potatoes, and ate them a lot. They were cheap, filling, and delicious. Even when my oldest was a baby, we still ate sweet potatoes a lot, and he loved them, too. It stood to reason that we should try to grow our own.

The problem is, sweet potatoes really don’t like our climate. The season is too short, and too cool. You can grow them here, if you are determined, but it means starting slips super-early, then planting them out under warming plastic row covers, or in a greenhouse of some type. Some folks recommend planting them in a raised bed made out of old black tires, which help trap heat and warm the soil. Even with all of that, I’ve never seen a local harvest that amounted to a handful of sweet potatoes, maybe an inch or inch and a half in diameter, and maybe 5 inches long, tops. You’d have to devote a lot of time, energy, and garden real estate to get enough for a good meal, let alone enough for a winter’s worth. Sweet potatoes, for us, are really hard.

Squash, on the other hand, I can grow. Once I hit on a few short-season varieties that will make decent-sized fruit in our short season, we were off to the races. They take a ton of space, but not much attention – once they get going, we don’t even weed them, since they tend to choke out the weeds if they are planted closely together. We don’t have many (any?) squash pests, the pollenators seem to love them, and the one significant disease we see here, powdery mildew, doesn’t set in early enough to really affect our production. We plant our squash into an old manure pile, and let it run out into the grass around it. Harvest is like a big Easter egg hunt, and tends to be pretty rewarding. Squash, for us, is easy.

An image of squash vines spilling out of the patch and growing in tall grass.

It took me a long time to figure out that I needed to quit trying to grow the difficult crops, the crops that needed tending and fussing and babying, and focus on the stuff that was easy. Since we’ve done that, our garden has gotten a lot more productive, and a lot less frustrating. Switching from the difficult vegetables that we wanted to grow, to the easy vegetables that wanted to grow here saves us so much work. Difficult plants meant middle-of-winter seed starting, where damp and cold led to half my seedlings (or even seeds) rotting before there was even a whiff of spring. We mostly direct-seed the easy vegetables right into the garden, or start them a few weeks before planting out, which is far less hassle.

Planting the easy vegetables means we get a lot more production for a given space in our garden, and it also often means a lot less weeding, and often also watering. Easy vegetables are quicker to get established, which means they are quicker to shade out the competition, and quicker to put down deep roots. While we still grow a few fussy things, like tomatoes, we grow a few plants for immediate use, rather than large quantities for processing or storage. We’ve given their garden space to the stuff that likes it here, and really produces.

several different types of squash among the leaves in a squash patch.

In focusing on the easy stuff, we started to learn to incorporate those vegetables into our diet, and really appreciate them. I have a bunch of good recipes for squash, now, for instance, and we keep them in regular rotation. Some of them were recipes that called for sweet potato, but which we adapted; sweet orange squash is actually really similar in cooking properties and flavor, which has worked out great. Others were gems I found on the internet and tweaked, or made up all by myself, and highlight the squash itself. A lot of recipes are pretty flexible in what vegetables you use, if you’re willing to get creative with them – we’ve used green beans as the main vegetable in a recipe that called for cauliflower, for example – and while the flavor may be a bit different, the result is usually tasty.

Squash is just one example – beans and peas and parsnips and potatoes seem to like it here, while tomatoes and peppers and eggplant do not. What is easy for me probably isn’t what’s easy for you – climate and rainfall and pests and infrastructure and soil type vary so much – but I really encourage everyone to consider what vegetables are easiest for them, and find ways to use more of that, rather than investing tons of energy into something that will always be a struggle. It was a garden game-changer for us!

A pile of different types of squash, including pumpkins, spaghetti squash, and sweet meat squash, on the ground.

By Jess