Category: Gardening

Home / Category: Gardening

Garden Advice: Grow What’s Easy

September 4, 2023 | Gardening | No Comments

An orange wheelbarrow full of different sizes, shapes, and colors of squash.

I really love sweet potatoes. Before we ever moved to the country, I had a lot of favorite recipes that called for sweet potatoes, and ate them a lot. They were cheap, filling, and delicious. Even when my oldest was a baby, we still ate sweet potatoes a lot, and he loved them, too. It stood to reason that we should try to grow our own.

The problem is, sweet potatoes really don’t like our climate. The season is too short, and too cool. You can grow them here, if you are determined, but it means starting slips super-early, then planting them out under warming plastic row covers, or in a greenhouse of some type. Some folks recommend planting them in a raised bed made out of old black tires, which help trap heat and warm the soil. Even with all of that, I’ve never seen a local harvest that amounted to a handful of sweet potatoes, maybe an inch or inch and a half in diameter, and maybe 5 inches long, tops. You’d have to devote a lot of time, energy, and garden real estate to get enough for a good meal, let alone enough for a winter’s worth. Sweet potatoes, for us, are really hard.

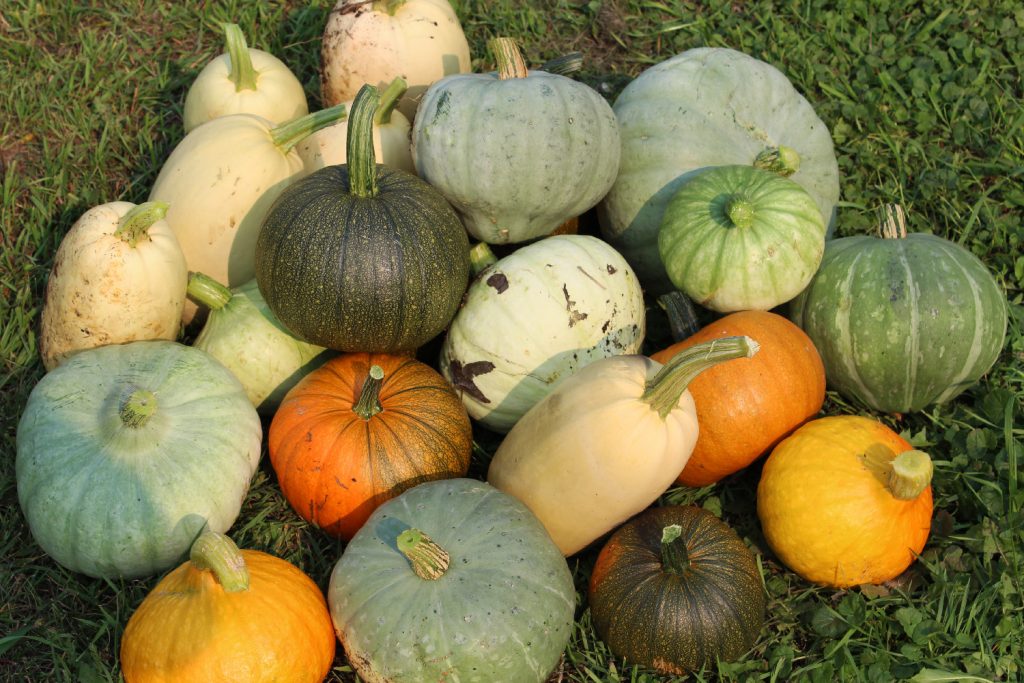
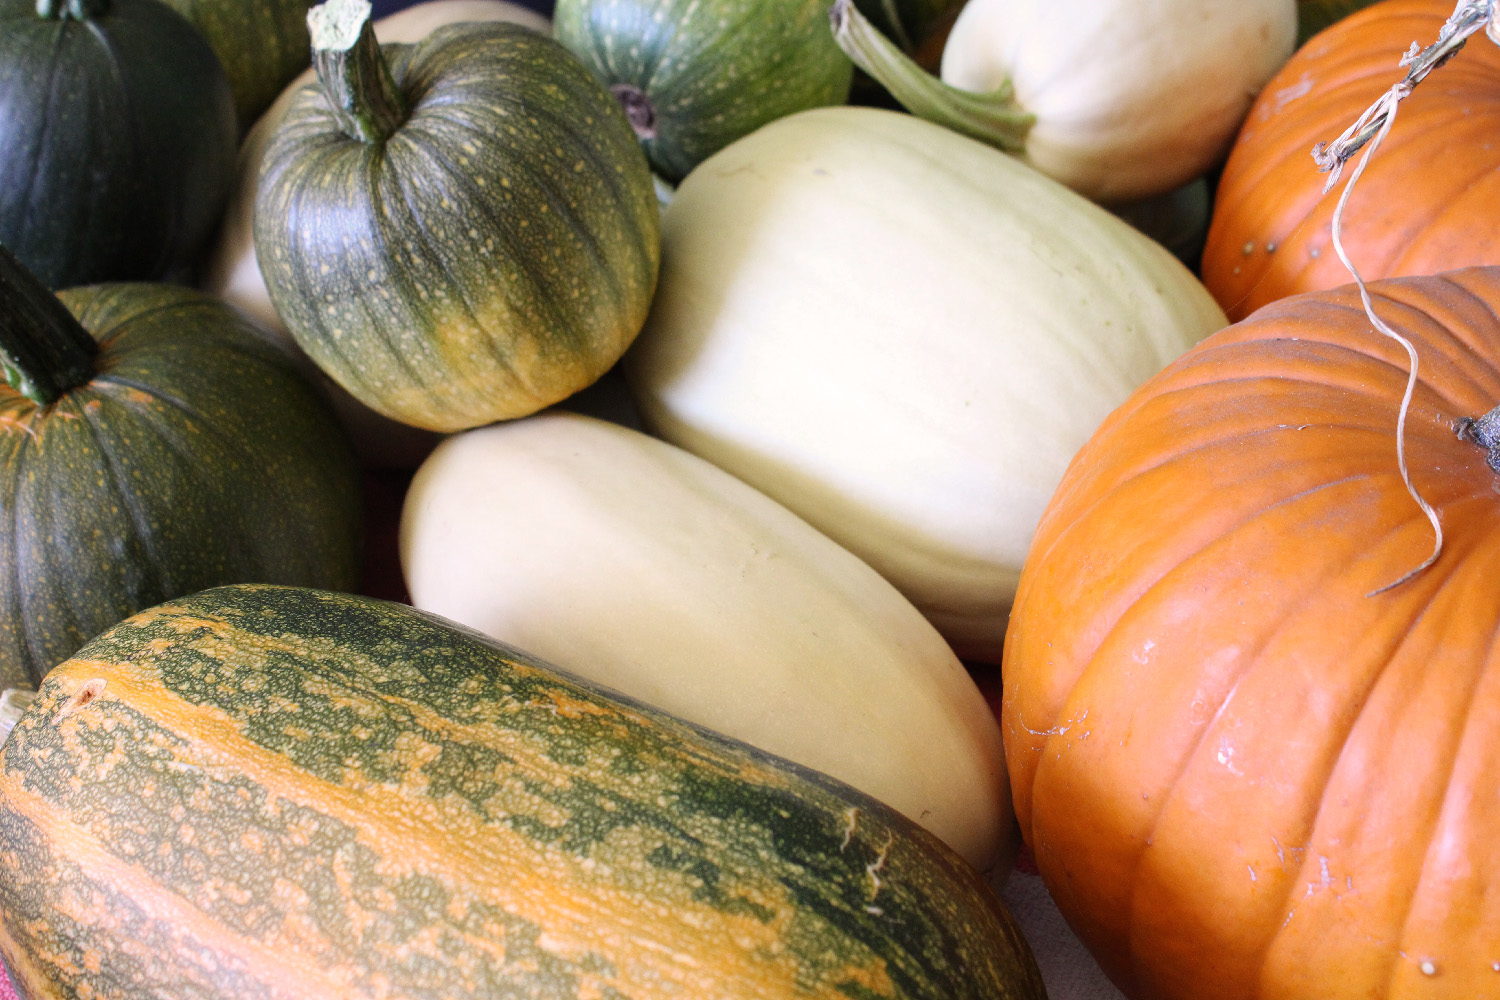
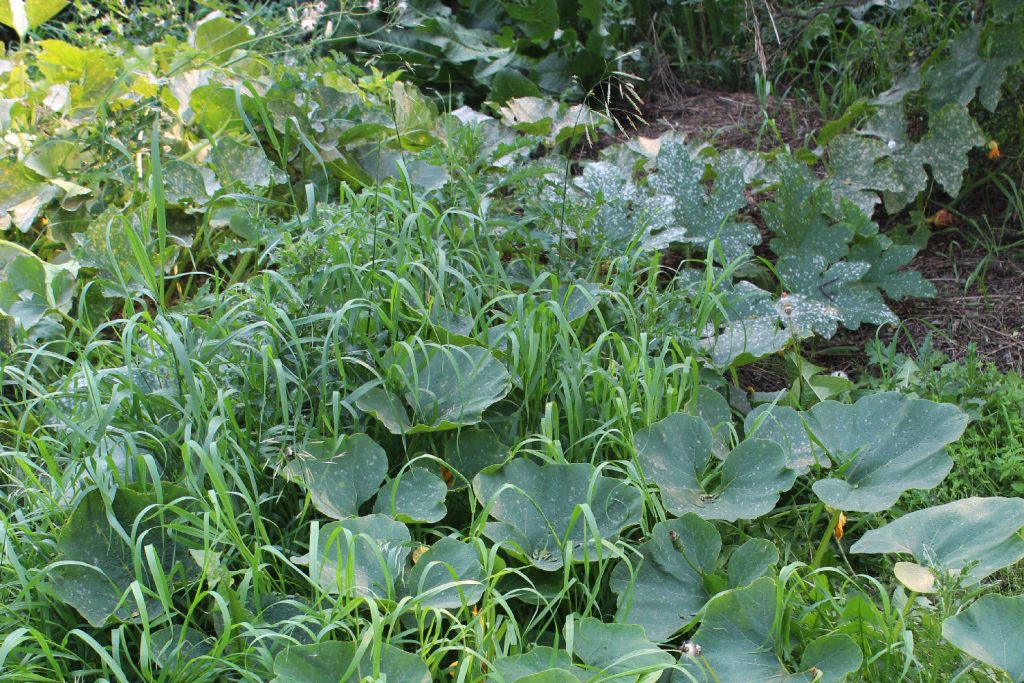
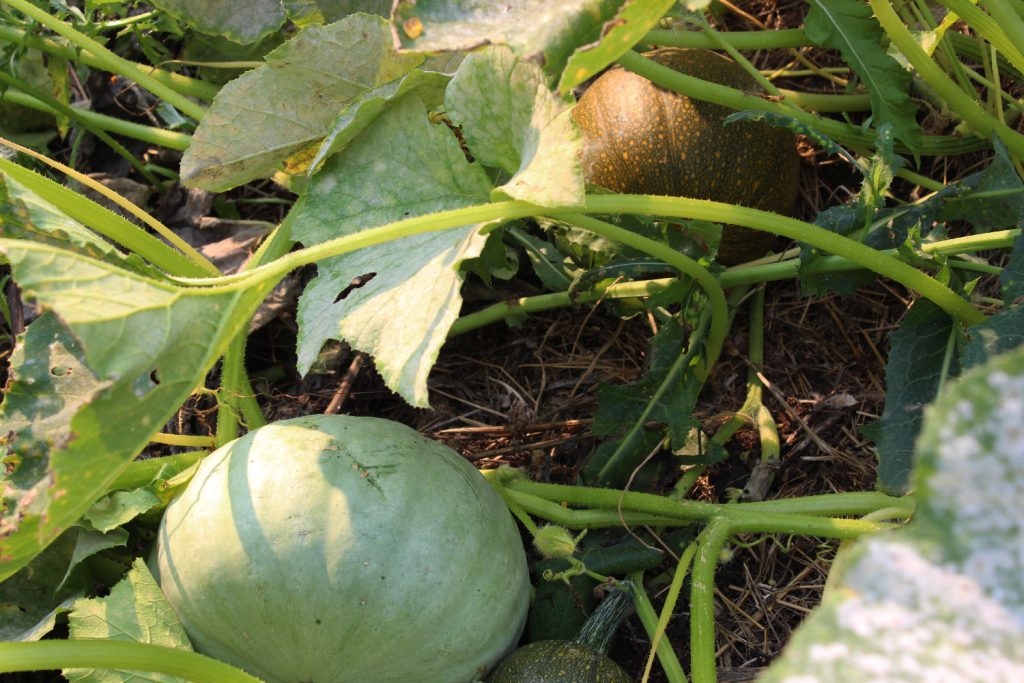
Squash, on the other hand, I can grow. Once I hit on a few short-season varieties that will make decent-sized fruit in our short season, we were off to the races. They take a ton of space, but not much attention – once they get going, we don’t even weed them, since they tend to choke out the weeds if they are planted closely together. We don’t have many (any?) squash pests, the pollenators seem to love them, and the one significant disease we see here, powdery mildew, doesn’t set in early enough to really affect our production. We plant our squash into an old manure pile, and let it run out into the grass around it. Harvest is like a big Easter egg hunt, and tends to be pretty rewarding. Squash, for us, is easy.

An image of squash vines spilling out of the patch and growing in tall grass.

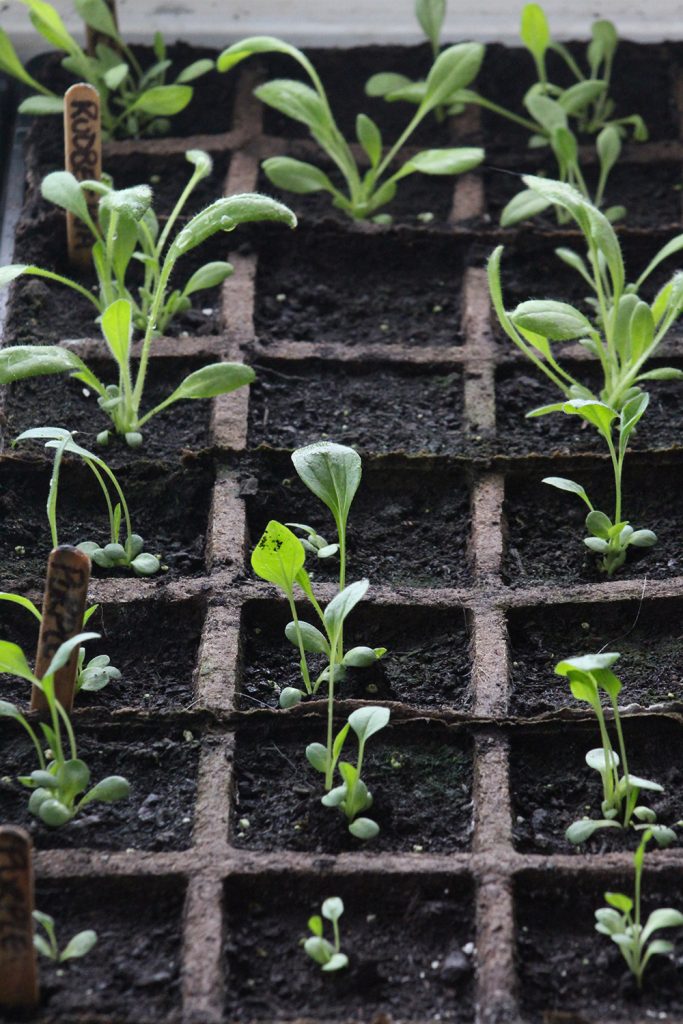
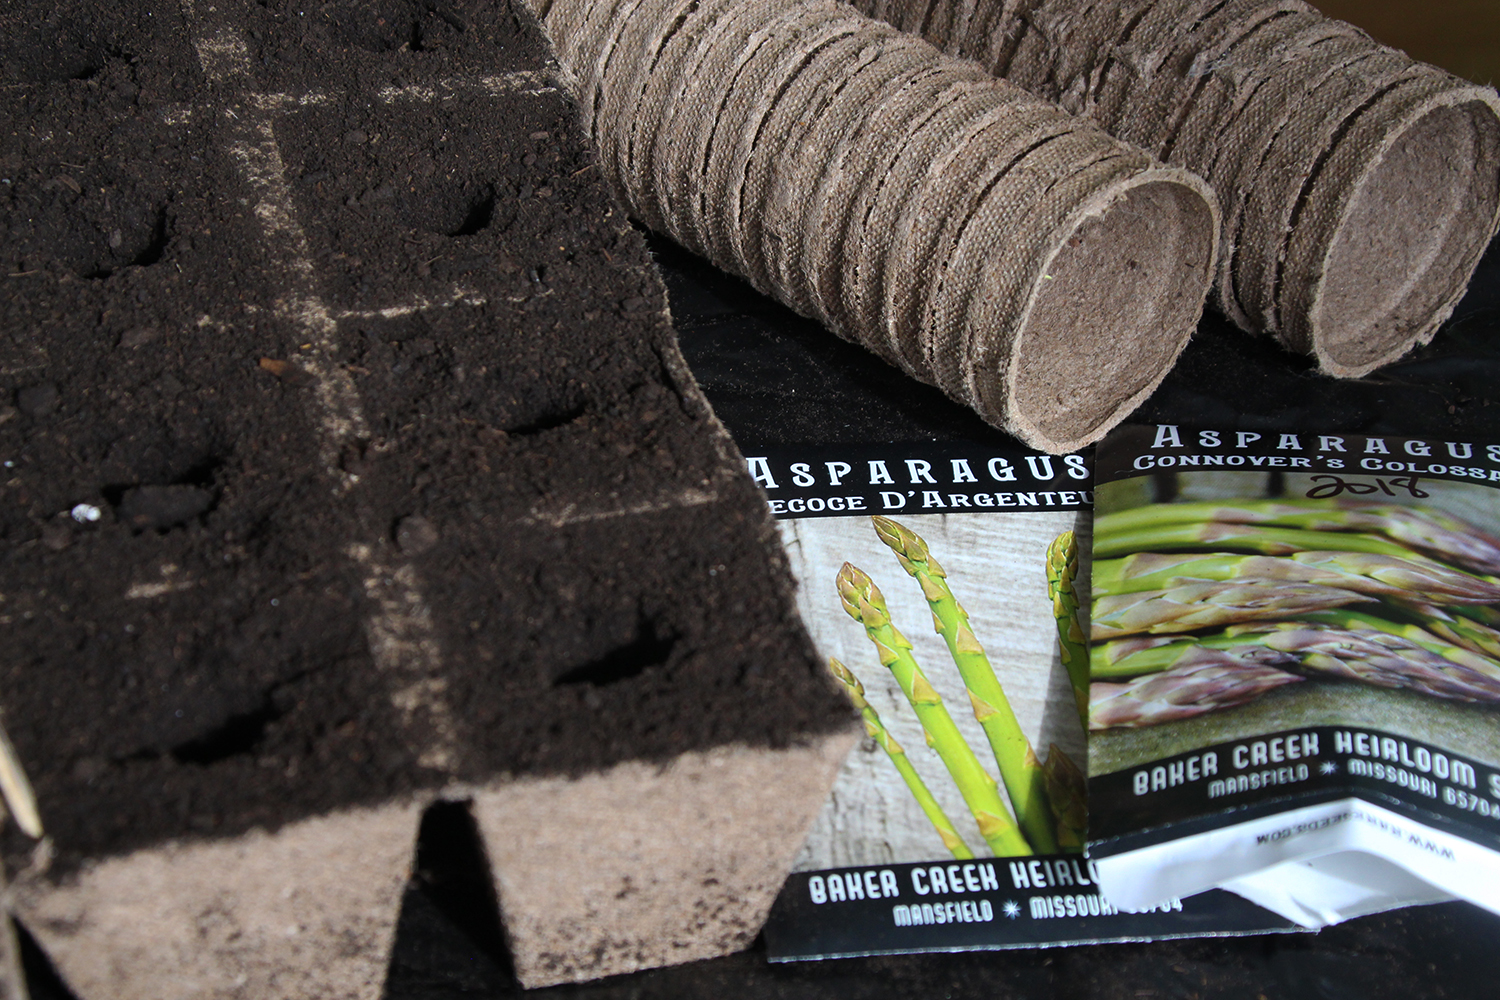
It took me a long time to figure out that I needed to quit trying to grow the difficult crops, the crops that needed tending and fussing and babying, and focus on the stuff that was easy. Since we’ve done that, our garden has gotten a lot more productive, and a lot less frustrating. Switching from the difficult vegetables that we wanted to grow, to the easy vegetables that wanted to grow here saves us so much work. Difficult plants meant middle-of-winter seed starting, where damp and cold led to half my seedlings (or even seeds) rotting before there was even a whiff of spring. We mostly direct-seed the easy vegetables right into the garden, or start them a few weeks before planting out, which is far less hassle.

Planting the easy vegetables means we get a lot more production for a given space in our garden, and it also often means a lot less weeding, and often also watering. Easy vegetables are quicker to get established, which means they are quicker to shade out the competition, and quicker to put down deep roots. While we still grow a few fussy things, like tomatoes, we grow a few plants for immediate use, rather than large quantities for processing or storage. We’ve given their garden space to the stuff that likes it here, and really produces.

several different types of squash among the leaves in a squash patch.

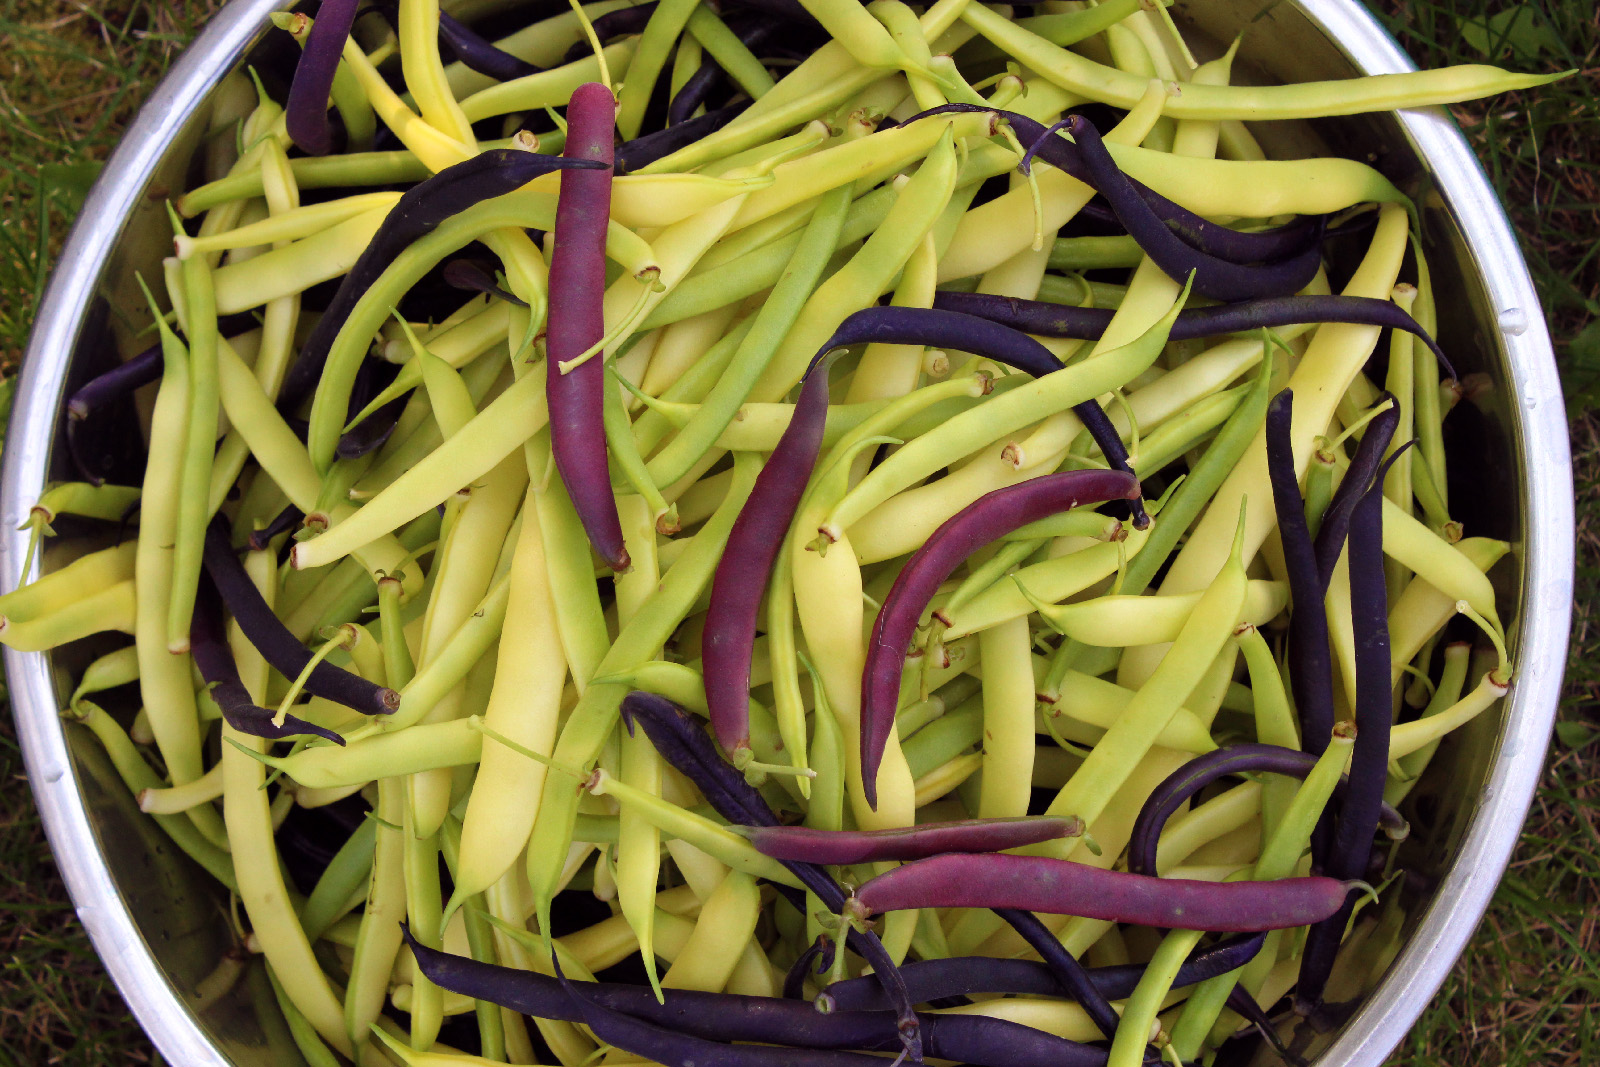
In focusing on the easy stuff, we started to learn to incorporate those vegetables into our diet, and really appreciate them. I have a bunch of good recipes for squash, now, for instance, and we keep them in regular rotation. Some of them were recipes that called for sweet potato, but which we adapted; sweet orange squash is actually really similar in cooking properties and flavor, which has worked out great. Others were gems I found on the internet and tweaked, or made up all by myself, and highlight the squash itself. A lot of recipes are pretty flexible in what vegetables you use, if you’re willing to get creative with them – we’ve used green beans as the main vegetable in a recipe that called for cauliflower, for example – and while the flavor may be a bit different, the result is usually tasty.

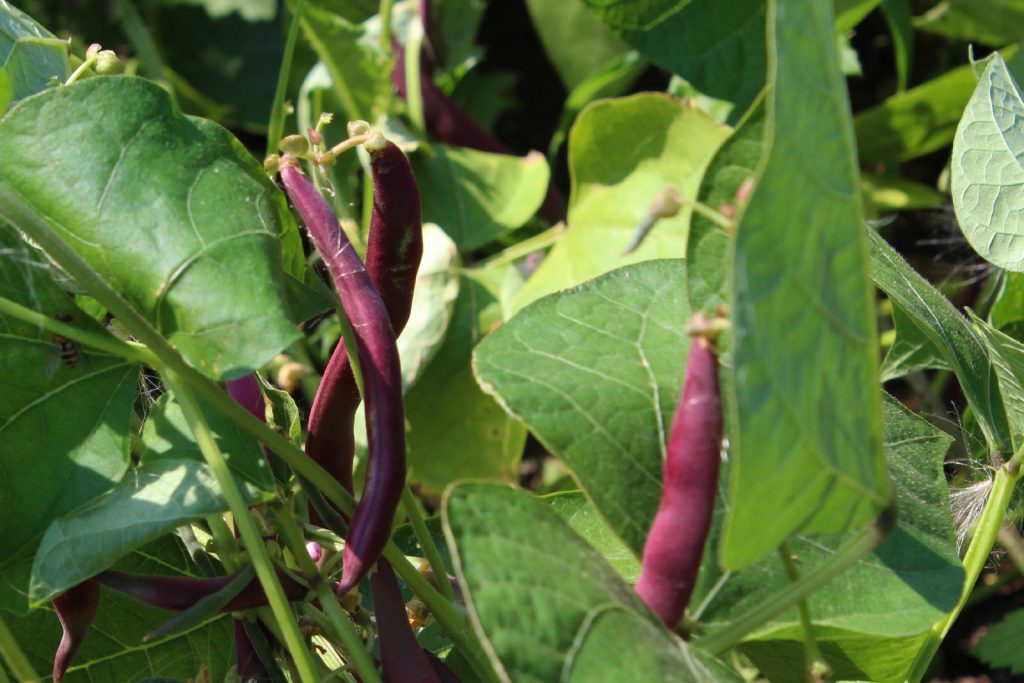
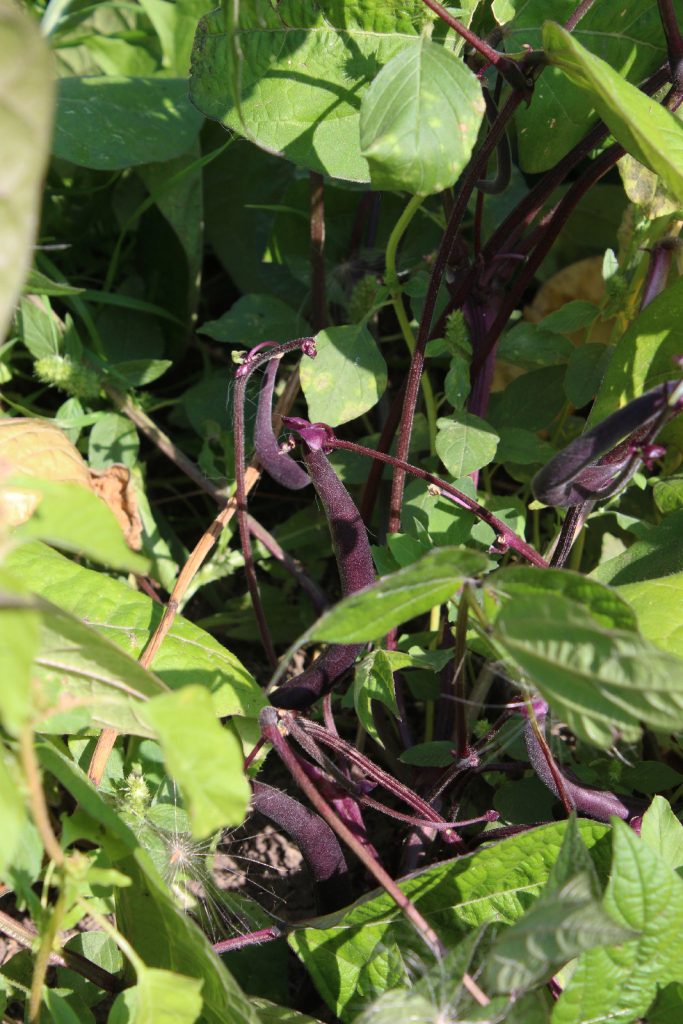
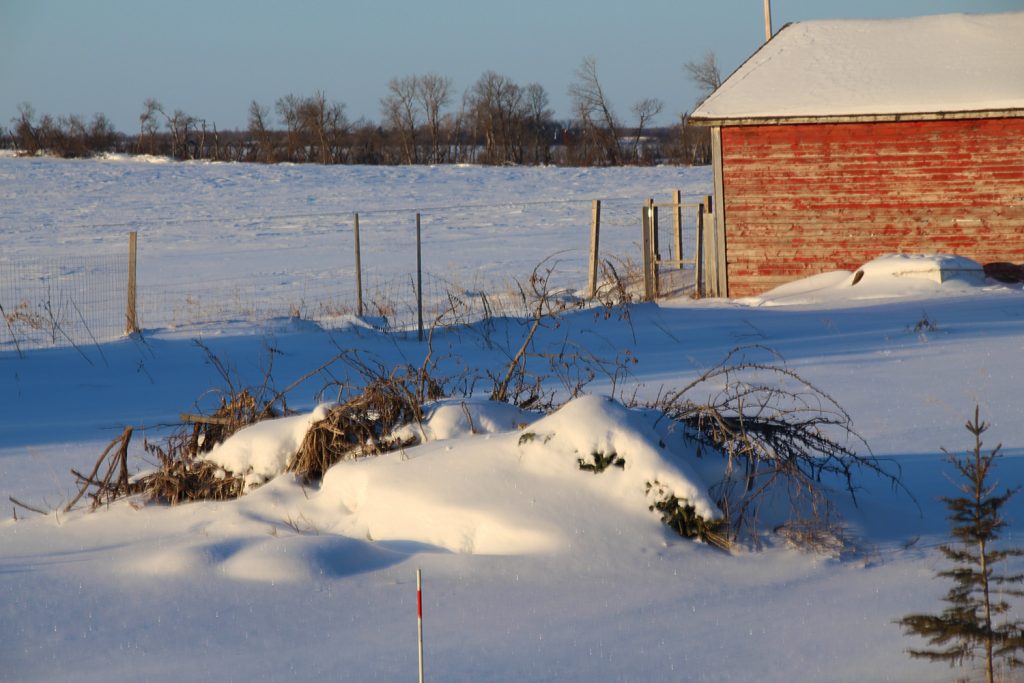
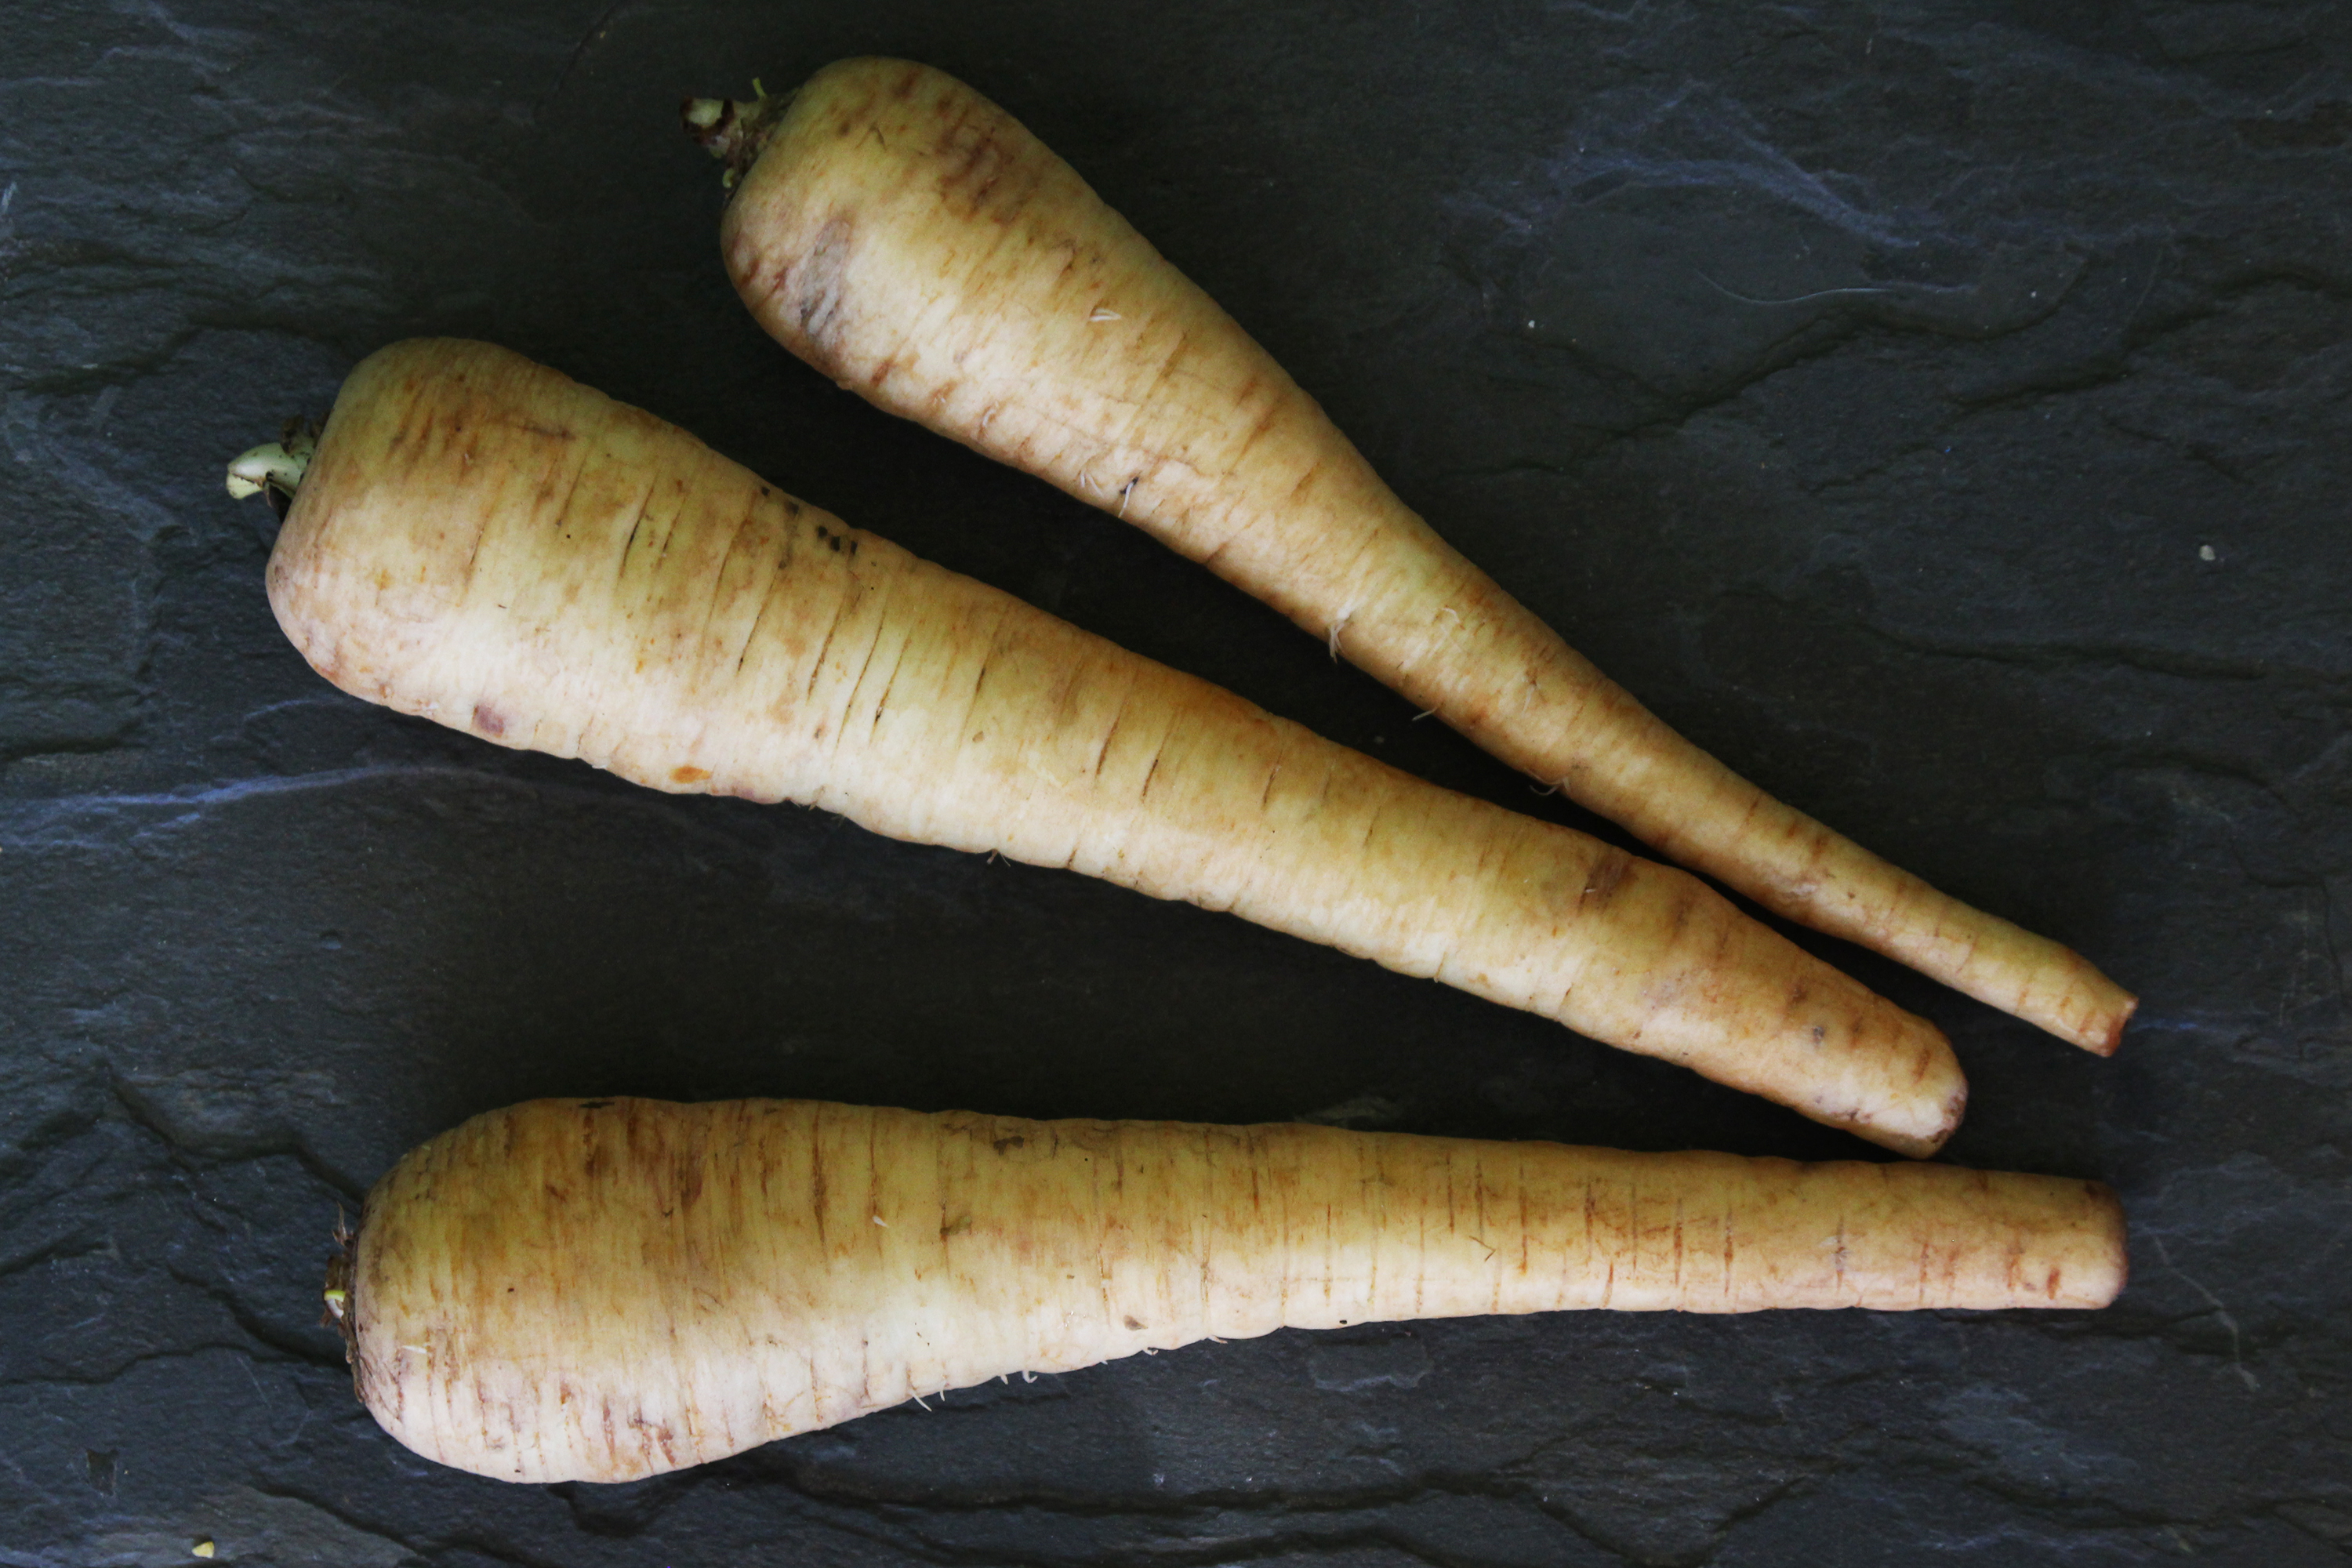
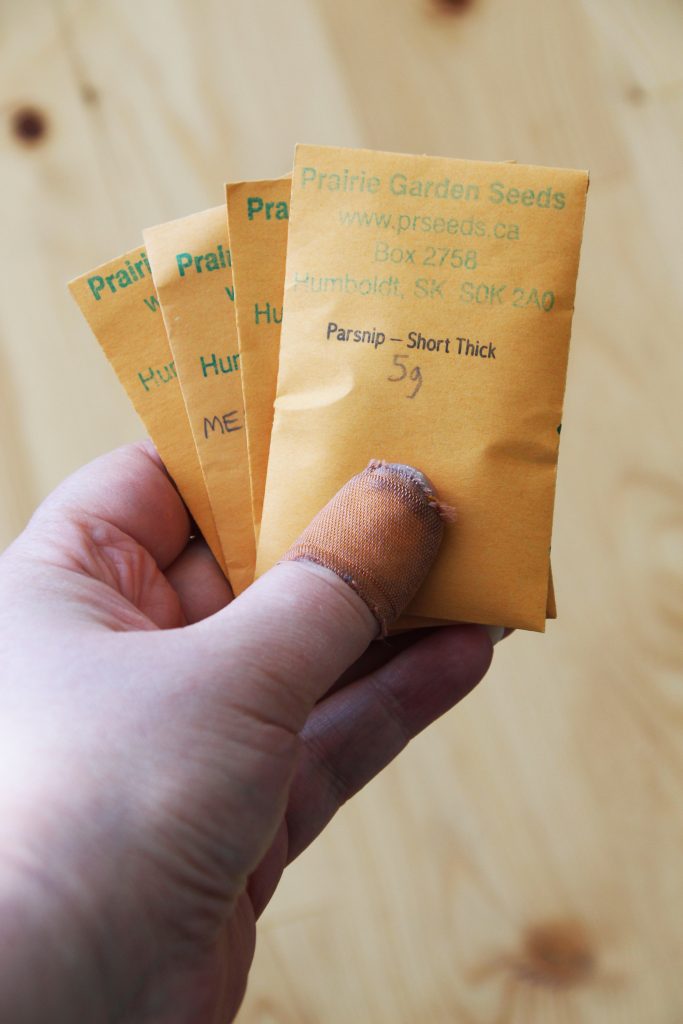
Squash is just one example – beans and peas and parsnips and potatoes seem to like it here, while tomatoes and peppers and eggplant do not. What is easy for me probably isn’t what’s easy for you – climate and rainfall and pests and infrastructure and soil type vary so much – but I really encourage everyone to consider what vegetables are easiest for them, and find ways to use more of that, rather than investing tons of energy into something that will always be a struggle. It was a garden game-changer for us!

A pile of different types of squash, including pumpkins, spaghetti squash, and sweet meat squash, on the ground.

By Jess
A photo of winter squash curing

We grow a lot of squash. Our first couple of years here, we discovered that squash seems to like our particular climate, and is happy to grow here without a lot of fuss, as long as we pick a type that will mature in our very short season. Even so, we often find ourselves picking our squash before it is fully ripe, or sometimes even completely green, in order to avoid a hard frost. A lot of types of squash will store at cool room temperatures for a very long time, which makes it doubly attractive, as it doesn’t need to take up space in the root cellar or freezer. However, in order for it to last well, you need to cure winter squash, especially if you are picking it a little early.

A freshly harvested squash with a cut stem, that needs to be cured before long storage.
A freshly harvested winter squash, with the stem still soft, wet, and seeping. This squash needs to be cured!

What is curing? Basically, it is letting the green or under-ripe squash dry out a bit, thicken its rind, and be ready to sit on a shelf without rotting. How do you cure winter squash? Well, the first step is to pick it at the right time. While many types of squash will take a light frost, it doesn’t appreciate freezing. We try to pick our winter squash just before the first frost, but in our zone, that often means picking it before the stem has fully dried out. When we are harvesting, we make sure to cut the stems quite a way back, leaving a good ‘handle’. Don’t pick the squash up by this handle, though! You might break the stem off, which actually makes the squash more susceptible to rotting.

A partially cured winter squash stem.
A partially cured winter squash. Note the shriveled stem end, and the base of the stem starting to look dry and woody. There’s still a lot of green, tender stem, though!

After the harvest, we usually leave the squash outside on the lawn for a while to dry off, if it isn’t raining; otherwise, we take it inside and wipe it with a towel. Once the squash is dry, we brush off as much dust/dirt/mud as we can. Next, we dip the stem in a mild (about 5%, though I often eyeball it) bleach solution, and wipe down the outside with a cloth dipped in the same solution. Normally, we do this in a 5-gallon bucket in the tub, as most of our squash are small enough to easily dip in the bucket, and doing it all in the tub contains the mess a bit. For really large squashes, I dipper a handful of bleach water over the cut part of the stem and the base where the stem is attached to the squash. Then, I wipe the rest with a cloth dipped in the bleach solution. Once it has been dipped (or wiped), we towel the squash off again, using old towels, as the bleach can cause them to get discolored.

If you don’t have much time (or a good space to do any dipping in), at least make sure to get the cut part and the base of the stem wet with a bleach solution. This will kill off any bacteria that might get into the stem before it is cured, and make the squash rot prematurely.

Although I knew about the bleach thing for a long time, I resisted actually using bleach on my squash, as it seemed unnecessary and harsh. However, dipping the stems in bleach makes a huge difference in how long our squash store, so we do it every year, now. Bleach breaks down pretty quickly, and won’t be present by the time you eat the squash, plus you don’t normally eat the rind anyhow, so it is safe to do this.

freshly harvest winter squash, some under-ripe, laid out for curing
Freshly bleached winter squash, laid our in a warm, dry place to cure.

Finally, we lay out the squash on towels in a warm, dry space – normally we put them on the floor in the corner of our living room. We check it over and turn each squash every few days, to make sure all sides are being exposed to the air to dry. Squash prefers a cool, dry space for long-term storage, but you need to cure them properly, first.

How long should you cure your winter squash? It really varies, depending on the type of squash, how long you were able to leave it on the vine, how warm and dry your curing area is, and how wet or dry your growing season was.

A properly cured pumpkin stem.
A properly-cured pumpkin, The stem is dry, hardened, and woody, and the rind is thick, and can’t be easily marked with a fingernail.

We’ve found that hard-stemmed varieties like spaghetti squash and most cucurbita pepo species of pumpkins cure fairly quickly, often in a couple of weeks for us, even if they are picked green. Once the stem feels hard and dry to the touch, and the skin of the squash itself has hardened to the point that you can’t easily pierce it with a fingernail, it is good to go. Fleshy-stemmed winter squash like Red Kuri, Buttercup, and Sweet Meat, and many other cucurbita maxima varieties, seem to take for-ev-er, often a month or more. For these, you need to cure them until the bulbous part where the stem meets the squash is hard and dry, as this is where the rot usually starts.

a mark made by a fingernail in a spaghetti squash, demonstrating that it is not yet cured.
The rind on this spaghetti squash is still thin, and easily marked with a fingernail. It needs to cure longer!

Once it is completely cured, winter squash prefers to be stored in a cool, dry place. Many basements would be too damp, though if you have a dry basement or run a dehumidifier, it could work well. We often store ours in a spare room with the door closed and the furnace vent covered; our squash does very well in there. How long any given squash will store can vary quite a bit; this depends on the type of squash, your growing conditions, and your storage conditions. Generally, though, for us, c. pepo pumpkins are usually done by Christmas or shortly after, followed by small-sized c. maxima squash like Red Kuri, which usually last until February or March. Larger c. maxima squash like Sweet Meat and Mandan last quite a bit longer, until April or May at least. Spaghetti squash is the champion out of the varieties we can easily grow, lasting a year or more in good shape. We haven’t found any variety of c. moschata that will set fruit in our short season, but I understand that that species tends to store very well, also.

By Jess

Full of Beans

September 1, 2022 | Gardening | No Comments

a big metal bowl of wax beans

It’s that time of year again, where we are drowning under the weight of the vegetables we planted in a ridiculous burst of optimism in the spring. Tomatoes, onions, garlic, and zucchini all need dealing with, and dealing with *right now*. Produce is not patient.

The big winner this year has been the wax beans. This is mostly because our cold, wet, spring led to germination issues, and over and over, we just shrugged and planted beans in those rows, thinking that at least beans can produce in the 60-75 day window we had left before frost. We did not keep track of how many rows this happened to, since we gave up on the parsnips far earlier than we gave up on the beets, and somehow we ended up with seven (!) rows of various types of beans by the time it was all said and done.

We really did not do much to deserve all this bounty. We dropped some seeds into some rows, and the rains came more or less when we needed them, so it’s mostly been a matter of keeping things weeded and picked. The beans seem to handle heat and drier weather better than a lot of our other vegetables, so I guess we picked the right summer to plant lots of them!

We find it easier to see colorful beans among the green leaves, so we planted red, purple, and yellow beans. The red and purple beans turn green when they are cooked, but they sure look fun in the picking bucket!

Red wax beans

I wish I had written down variety names when we were planting, but we were scrounging half-packets from the bottom of my seed box to fill in the rows, and we have no idea how many varieties we even stuffed in there, or what they actually were. The purple beans were probably ‘Royalty’, but that’s really only my best guess. The purple and yellow varieties were heavy producers in the early part of the season, but have tapered off; the red ones were slow starters, but are going great guns now, when everything else is taking a break, so I guess the combination worked out well.

purple wax beans, possibly "Royalty' type

So far, we’ve picked upwards of fifteen gallons of wax beans, which sounds like a lot, but once they are topped and tailed, chopped, and packaged up in neat little four-cup vacuum-sealed bricks, the pile in the freezer is shockingly small compared to the buckets of freshly-picked beans. To be fair, we’ve eaten beans with every second meal for weeks, now, and I’ve pickled a bunch, too, so it’s not a disappointment in any way.

Wax beans in a big metal bowl

We were blanching our beans for the first five or six gallons’ worth, but a friend cheerfully informed me she doesn’t bother, and her beans are not tough, even after ten or twelve months. Given that it’s been 30-plus degrees here for much of the last month, and given that we don’t have air conditioning, we’re happy to test out this theory, and save on heating up the house. I’ll try to remember to do a blog post about how that worked out!

Meanwhile, I’ll be washing and chopping zucchini and beans…

By Jess

On Asparagus

June 19, 2022 | Gardening | No Comments

asparagus frond

Asparagus is a big favorite in my family. In the beginning, it was just me who really loved it, but the more I tried to keep it all for myself, the more the kids wanted a share. Go figure.

Asparagus is very hardy, and easy to grow here in zone 2/3. We have a substantial amount of the stuff, spread over three different patches. We’re currently harvesting from maybe 35 – 40 plants, and this spring, we were getting around 1.5 to 2 pounds, every second or third day. It still isn’t enough!

Row of asparagus
An asparagus row in my garden.


We did plant 10 more roots last year, and another 10 this year, so hopefully we will have enough for everyone to eat their fill in another few years.

Here are my thoughts on growing asparagus:

Asparagus will survive in not-weeded conditions, but they won’t get to the big, juicy spears you can harvest lots of (or it will take a lot longer for them to get there). We dug one patch out of sod around 8 or 9 years ago, and planted asparagus there, but the arrival of child #2 meant we ran out of time to stay on top of it, and that bed got abandoned. I still see several asparagus plants growing in that spot, but the spears are too small to harvest, even after all that time. They are hanging in there, but barely.

Asparagus spear in wood chip mulch
Wood chip mulch around the base of an asparagus plant – with grass mulch piled nearby.

What we’ve done with our two surviving beds is weed them well, dump on a bunch of compost, then cover the whole thing heavily with wood chips. It hasn’t completely eliminated the weeds, but it vastly reduces the amount of weeding needed. The established asparagus doesn’t seem to mind pushing through the extra several inches of ‘stuff’, and the mulch really helps with water retention during hot, dry spells.

Asparagus also likes significant amounts of water, so we do water them if it’s really dry. We try to water deeply when we do water, as the roots are way down there, and won’t benefit from light surface watering. They will survive drought, but again, you won’t get great production without sufficient water.

Asparagus don’t really spread through roots, but they can self-seed if you have female plants (some of the cultivars that commercial places sell are male-only crowns – great for production, but they won’t set seed). They don’t really self-seed on wood chips, though. One of our patches is at the edge of our garden, and we sometimes find little baby asparagus there; we try to relocate those back into the patch, but the survival rate is not great. I’ve also tried growing asparagus from seed, but haven’t had much luck with that. They sprouted, and grew, but did not survive their first winters on any of the occasions I’ve tried, so now I just order the 2 year old roots from nurseries.

Once a root is healthy and established, they will push out lots of spears, though not necessarily all at once. I have one bed that is healthy, well-tended, watered, and ten years old; from that bed, I am getting initial spears that are bigger around than my two thumbs together. I harvest all of the big spears from those plants, over and over. So I might pick 4 or 5 spears one day, then another 4 or 5 in a few days, and so on, until each spear coming up is smaller than my pinkie finger. I have big hands; my pinkie is bigger in diameter than a pencil, but I like to leave lots for the plant to re-establish with, in case there is drought or other weather issues. At that point, I stop picking and let the asparagus grow up and form ferns.

asparagus frond
An asparagus leafing out – it looks very fern-y!

Most of the articles I’ve seen recommend waiting until year 3 to harvest, and only harvesting spears that are bigger in diameter than a pencil. However, when you are establishing new beds, I actually recommend giving the plants more time to establish, and fewer pickings, than the literature suggests.

The way asparagus works is that it stores up energy and nutrients in its roots, and uses that energy to push up the spears. I find that if you can be patient and go easy on it for the first few years of harvest, then you end up with a stronger, more resilient plant, and to me, long term resilience is more important than large and early harvests.

Asparagus Spear
An asparagus spear – I stop picking them at a much larger diameter than recommended.

I try not to harvest until the plants are 4+ years old (I buy 2 year old roots, than wait at least 2 years to harvest), or at least putting out multiple spears bigger around than my thumb. Like I said earlier, I also stop harvesting well before the recommended minimum size, as I want my plants to have lots ‘in the bank’ to size up the roots with, even if summer growing conditions are less than ideal.

Personally, I think asparagus is a great perennial food plant for northern gardens, and if you have the space and the time, I would encourage you to plant a bunch!

By Jess
Caterpillars Are Baby Butterflies - Rural Dreams

This spring, I have been working hard to put in a large-ish bee and butterfly garden, to give the pollenators a little oasis in our big sea of surrounding commercial crop fields, which are heavily sprayed. I’m sure I’m not the only one doing this – there has been a lot of media attention on pollenators, recently. However, at the same time, I am seeing a ton of posts on social media of people looking for ways to get rid of caterpillars on their plants and trees. I think people are forgetting something important: caterpillars are baby butterflies!

My pollenator garden is going to have caterpillars – that is part of the point! If you are planting milkweed, its job is to feed the caterpillars of Monarch butterflies. Let me repeat that sentence:

Milkweed’s job is to feed caterpillars.

Caterpillars.

Without caterpillars, there are no butterflies.

I get that tent caterpillars, especially, are a pain in the butt. They eat all the leaves off the trees, and infestations can be ugly. However, the leaves will grow back, and the trees aren’t even really damaged, and those caterpillars (and the moths they turn into) feed birds such as blue jays and chickadees, and all sorts of other wildlife, including frogs, squirrels, and, apparently, even bears!

tent caterpillars on a tree
Image by NoMercy from Pixabay

Caterpillars can also do quite a number on your garden. Around here, the little green caterpillars of the Small White Butterfly decimate brassica crops, including commercial canola, and any cabbage I have ever tried growing. It’s not exactly fun picking them out of your home-grown broccoli, either. Once again, though, the adult moths feed birds such as sparrows and goldfinches, which we really enjoy seeing around our acreage.

At the same time, anything you spray or dust to kill the tent caterpillars or cabbage worms, from commercial pesticides to Bacillus thuringiensis will also kill other caterpillars, including the caterpillars that turn into monarch butterflies, as well as some of my other favorites, like the Mourning Cloak and the Canadian Tiger Swallowtail. Some of the commercial pesticides are also really hard on bird and amphibian populations. In the same way that roses come with thorns, butterflies come from caterpillars, and if you want to have one, you are stuck dealing with the other.

A monarch butterfly on a flower
Image by skeeze from Pixabay

Honestly, for us, the ‘dealing with’ isn’t a horrible hardship anyhow. We sometimes pick caterpillars off vegetable plants and fruit trees, but we generally leave them alone when they are feeding on the native chokecherries or decorative plants. Although we’ve had no luck with covering our brassicas (thanks to kids and puppies), I know that lots of people have been very successful with that tactic, and it is not detrimental to any of the other caterpillars and butterflies that may be in and around your garden. With the pollenator gardens, we are purposely planting favored plants, and there is a good chance they will gravitate to those, instead of ending up on our vegetables. Or maybe not, but we’re still okay with that, because we love butterflies.

Now, repeat after me, one more time: Caterpillars Are Baby Butterflies!

Pin It for Later:

Caterpillars Are Baby Butterflies - Rural Dreams Blog

By Jess
Tired of expensive celery? Try growing lovage!

I’ve read a few news stories lately that lament the price of celery, which has more than doubled in some places, recently. My town has definitely been hit by the expensive celery bug, which can be a nuisance when we go to make soup stock!

On the bright side, our lovage plant is up, now, so we don’t actually have to buy celery, at least for the rest of the summer. Probably the fall and winter, too, if I get organized enough to dry some later, when the plant is bigger.

What is lovage, you ask?

Lovage is a large perennial herb that is hardy to at least zone 3. Wikipedia says it can grow as large as 8 feet tall, though I doubt it would reach that here, in our short season. All parts of the plant have uses, either in cooking or medicinally; the leaves, in particular, have a strong, sharp celery flavor that is spectacular in broths and soups.

a lovage leaf to illustrate groing lovage

So, if you’re not willing to pay for expensive celery, consider growing lovage!

We started our lovage plant from seed last spring, and it was easy enough to do. I started it in a peat pot a few weeks before last frost, and planted it our later in the spring, once all danger of frost had passed. Once established, the plant can take some cold weather, but the seedlings seem to need a little pampering to really get going. It’s a little late to start seeds, though I’d imagine if you started them in the house and planted them out before midsummer, the plant would probably still have enough time to get established before winter. I have seen lovage available at greenhouses from time to time, as well.

lovage leaves in the spring

Our lovage is planted in full sun, though I’ve read that they can handle part shade. We put ours in a corner of the vegetable garden, in good soil, which it seems to appreciate. We watered it regularly through last summer, but we haven’t watered it at all so far this spring, and it has been really dry; the plant shot up about a week ago, despite the dry conditions, and looks unperturbed with the heat and dry weather. Based on our experience so far, growing lovage is very easy, and it doesn’t seem to need a huge amount of care, nor does it appear to have significant problems with pests.

We have mostly just used lovage as a replacement for celery, but a little goes a long way; a couple of sprigs will flavor a large pot of soup. For the more adventurous, you can find some interesting lovage recipes here.

Tired of expensive celery?  Try growing lovage! - Rural Dreams

By Jess

Growing Western Red Lilies From Seed

April 17, 2019 | Gardening | 4 Comments

Growing Western Red Lilies From Seed

As a child, I remember Mom pointing out ‘tiger lilies’ in the ditches when we were driving to Grandma and Grandpa’s farm. I later discovered that they were more properly called Western Red Lilies – the floral emblem of Saskatchewan. I don’t recall seeing them from then until we moved to the acreage in 2008 – that summer, I noticed them in some of the ditches around here, and I was really delighted by that! Mom really hammered it into my head that the lilies were endangered, and should never be picked or dug up, so I’ve just been enjoying them as I drive by for the last several years.

However, when I was doing research on native plant sources for a pollenator garden, I came across an actual seed source for these lilies – Blazing Star Wildflower Seed Company out of Aberdeen, Saskatchewan. I had no idea you could grow Western Red Lilies from seed – I thought they propegated via bulbs…which they do, but you can grow them from seed as well. Of course, as soon as I saw them, I had to have them.

I read the packet instructions when they arrived. The directions called for starting the seeds in a baggie of damp vermiculite, and noted that the seeds could take up to four weeks to germinate. Once they had sprouted, the directions called for transplanting them into pots to grow until they could go out into the garden.

Growing Western Red Lilies from seed - lily sprout

The whole packet of seeds were dumped into a plastic baggie of damp verimculite on March 13th, when I started the asparagus. I set them in a warm-ish spot on a bookshelf, out of direct sun. The lily seeds actually did take over three weeks to germinate, and on April 7th, I picked the teeny little sprouts out of the (overly sticky) vermiculite, and transplanted them into peat pots to grow for a while before they go outside. Given that it was still snowing last week, they should have some time to grow. I got 14 little lily sprouts, which is not bad, but if these work out okay, I’ll order several more seed packets for next year.

I am really excited about these little plants – if I can grow them out to a decent size in my flowerbed without too much trouble, I’ll start transplanting them in the ditches along my lane, so the pollenators (and I) can have even more of them to enjoy!

By Jess
asparagus from seed in a seed starting tray

Three weeks ago, I planted a bunch of asparagus seeds. I know it’s waayyyy too early to be starting stuff for my regular garden, but the asparagus seed packets clearly stated that the seeds should be started three months before last frost, in part because the seeds take up to four weeks to germinate.

My asparagus seeds did not take four weeks to germinate.

baby asparagus plants pushing against the lid of a seed starting tray

Neither did the rudbeckia, echanasia, yarrow, or any of the other supposedly slow to germinate things I planted that day. I didn’t do anything special with the seed trays at all. I planted the seeds, watered them, put the covers on, and set them in a south-facing window…then basically forgot all about them, since they weren’t supposed to do much of anything for a long time.

rudbeckia and echanasia plants in a seed starting tray

The asparagus plants are so tall now that they are all crumpled up from pushing on the lid of my seed starting tray, but I don’t have anywhere to put the little plants, because it’s still snowing outside…

an orange wheelbarrow partially covered by snow in a spring snowstorm

By Jess

Starting Asparagus From Seed

March 13, 2019 | Gardening | 6 Comments

Asparagus seed packets and a tray of dirt.

I get a little frustrated with my access to garden plants, sometimes. There are no fruit tree nurseries in the nearest town, and only a couple of big-box stores that carry garden stuff; the locally-owned place shut down last fall. There are a couple of bedding plant places, but they don’t generally have much (or anything) for perennial plants.

Big box stores are frustrating places to try to buy perennials. Far too often, I see zone 4 or even 5 stuff being sold; a lot of tree and shrub buyers are going to be disappointed the first time their purchases encounter a normal winter.

I am also sick of winter. Seriously sick of winter. The local news pointed out that we had 67 consecutive days that did not come above freezing; more than half of them were -30 or colder. The days are getting longer, but the snow is still at least thigh deep across most of our acreage, and while it is around freezing, it’s not really warm. This is probably a taste of our new normal with climate change. The hype had us all set for growing mangoes on the prairies in my lifetime, but instead it’s looking more like drought and polar vortexes and forest fire smoke. Blech.

Showing snowdrifts in my yard - I am sick of winter!

Clearly, I needed something to get into a better headspace. What better than playing in some dirt?

I ordered a couple of asparagus seed packets over the winter, since there are only three (!) varieties of asparagus that I have come across to order as roots online in Canada. What the heck, Canada? I’m all about the diversity, and have been pretty disappointed about the Mary Washington / Jersey Giant / Sweet Purple asparagus options.

Luckily, Baker Creek had a couple of new options I hadn’t seen before – Connovers Colossal and Precoce D’Argenteuil. Ordering those effectively doubles my asparagus options. I have never tried growing asparagus from seed, though, so it may or may not work out as planned. Some of our asparagus has self-seeded before, as we’ve found tiny little fronds in the garden, but we haven’t tried to do it on purpose, up until now. Stay tuned for updates in a few months.

The seed packets indicated to start the seeds 8-12 weeks prior to last frost, and here we are, 11 (or so) weeks from our anticipated planting date. Perfect timing.

So I got out all of my seed starting supplies (hello, old friends!) and played in the dirt for a bit. Besides the asparagus, I planted a bunch of seeds for perennial flowers that will attract bees and butterflies. Black Eyed Susans, Purple Coneflowers, and some Speedwell – pretty things for the flowerbeds I plan to dig in the front lawn this spring.

Now we just need this snow to go…

A tray of asparagus being started from seed

By Jess
A photo of three parsnips

Usually, Seedy Saturday (or Sunday) is in March in our nearest town. Seedy Saturday is a really cool event – in our town, there are speakers, seed and garden vendors, a few activities for the kids, and some information tables about permaculture, composting, local environmental initiatives, and such. It’s held in the basement of our local library, and one of the neat offshoots of the event is that our book library now also has a seed library – a filing cabinet full of donated seeds that people can take, grow out, and later replace with seeds they’ve saved.

With the kids being little, and not very patient, our ventures into Seedy Saturday have been brief, and we haven’t been able to stay for the speakers or activities. This year, the kids are a bit bigger, and have more of an attention span. We hummed and hawed about whether or not to go, though, since I’ve already ordered more garden seeds than we really need, and it’s a long drive into town, plus it’s -30 today, which saps everyone’s motivation to leave the house!

But…

…but there is the Parsnip Lady.

Last year, one of the vendors (Prairie Garden Seeds) talked us into trying parsnips. We followed her advice, and the parsnips did very well in our garden. We had a good harvest, and found several ways to cook them that we really enjoy – even the kids enjoy their ‘parsnippitys’ (as our youngest has dubbed them).

Unfortunately, parsnip seeds don’t last very well. From what I’ve read, germination goes way down even after just one year. I want to grow a lot of parsnips this year, since we enjoyed them so much, and they should keep for a while in the root cellar. We weren’t able to save seeds from the parsnips last year, because parsnips are biennial – they grow big roots the first year, then flower and set seed the second year.

The lady from Prairie Garden Seeds told us that one of her varieties of parsnip (the Short Thick) can be overwintered right in the garden, even in zone 2, with a bit of protection. We dumped a couple of bales of straw over the end of the parsnip row last fall, and hopefully, they will have survived the brutal cold, and will grow and flower for us this summer. Meanwhile, we needed to buy seed if we are going to plant the Short Thick parsnips again this year, as I haven’t been able to find them anywhere else.

So, we packed up and headed in to Seedy Saturday. One $4 packet of parsnip seed later, we were ready to go…except there is no such thing as just buying one packet of seed. The Prairie Garden Seeds lady talked us into trying melons this year…so we’ll see how that goes! I also picked up a couple of books, bringing the total up significantly. I’m glad we went, though, and now I’ve got parsnip seeds to overwinter again, to tide us over until this year’s seed crop is ready (which will hopefully work out okay!)

A handful of seed packets from Prairie Garden Seeds

By Jess