How to Cure Winter Squash for Storage
October 6, 2022 | Gardening, Root Cellar and Food Storage | No Comments
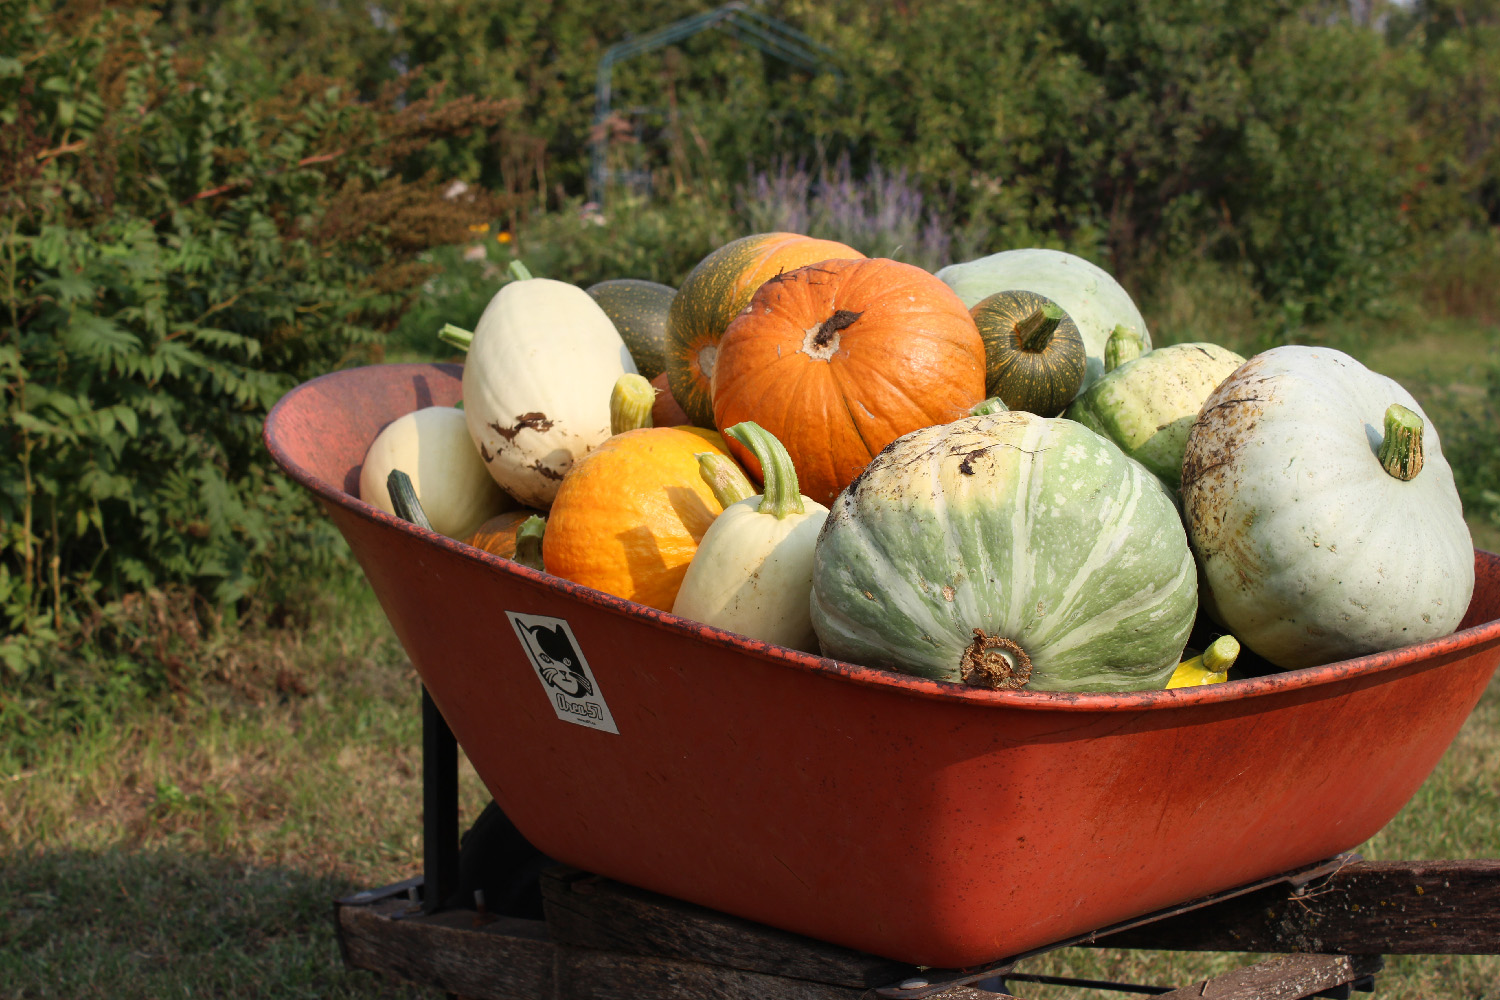
We grow a lot of squash. Our first couple of years here, we discovered that squash seems to like our particular climate, and is happy to grow here without a lot of fuss, as long as we pick a type that will mature in our very short season. Even so, we often find ourselves picking our squash before it is fully ripe, or sometimes even completely green, in order to avoid a hard frost. A lot of types of squash will store at cool room temperatures for a very long time, which makes it doubly attractive, as it doesn’t need to take up space in the root cellar or freezer. However, in order for it to last well, you need to cure winter squash, especially if you are picking it a little early.
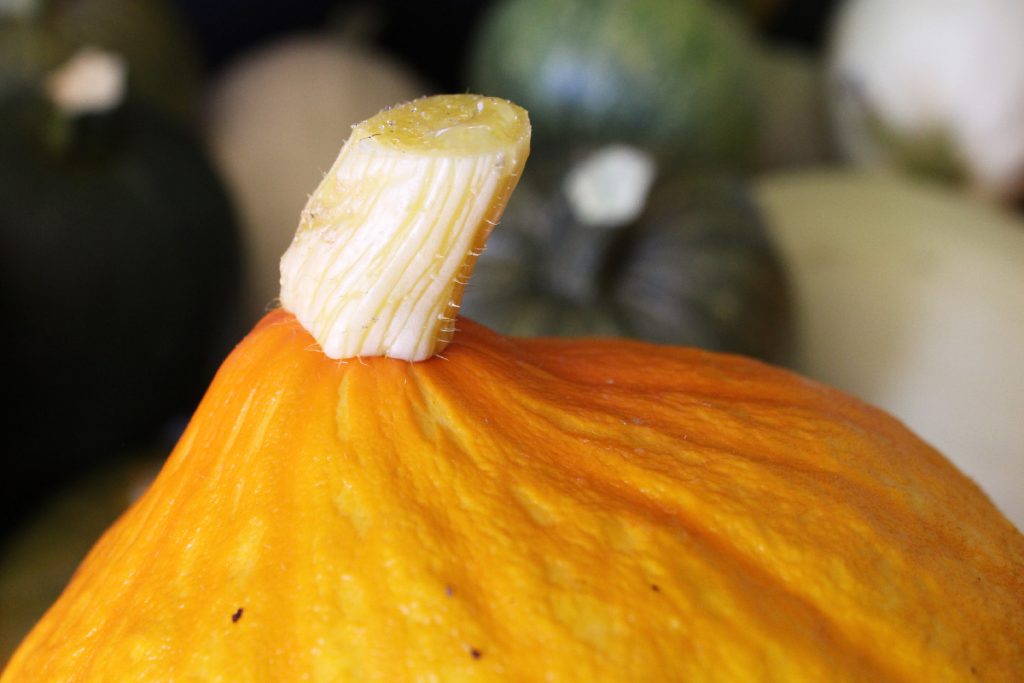
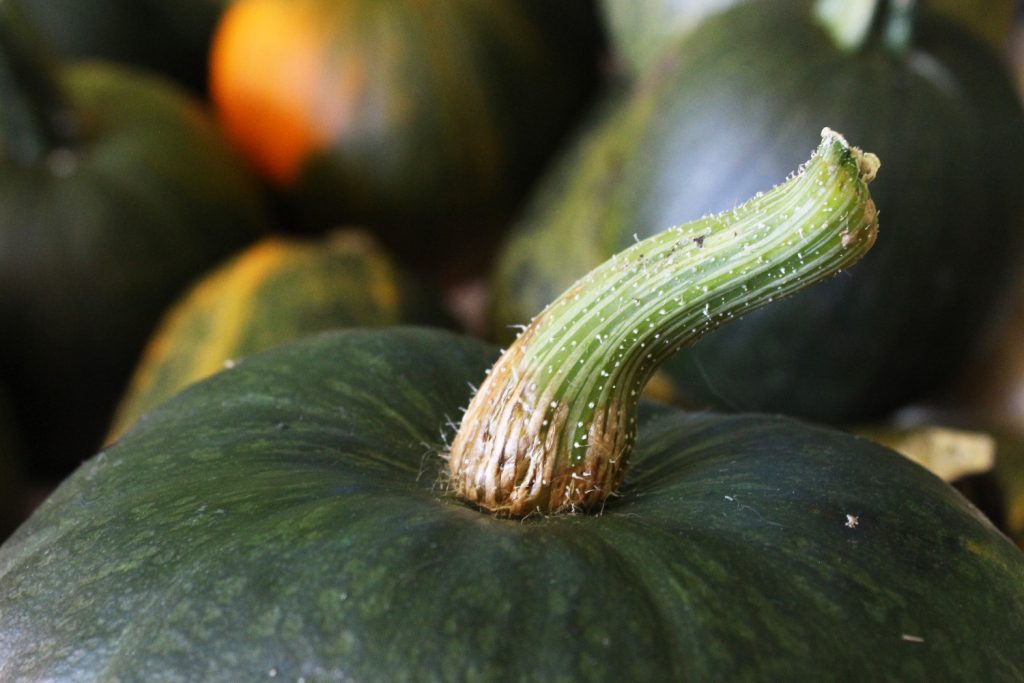
What is curing? Basically, it is letting the green or under-ripe squash dry out a bit, thicken its rind, and be ready to sit on a shelf without rotting. How do you cure winter squash? Well, the first step is to pick it at the right time. While many types of squash will take a light frost, it doesn’t appreciate freezing. We try to pick our winter squash just before the first frost, but in our zone, that often means picking it before the stem has fully dried out. When we are harvesting, we make sure to cut the stems quite a way back, leaving a good ‘handle’. Don’t pick the squash up by this handle, though! You might break the stem off, which actually makes the squash more susceptible to rotting.
After the harvest, we usually leave the squash outside on the lawn for a while to dry off, if it isn’t raining; otherwise, we take it inside and wipe it with a towel. Once the squash is dry, we brush off as much dust/dirt/mud as we can. Next, we dip the stem in a mild (about 5%, though I often eyeball it) bleach solution, and wipe down the outside with a cloth dipped in the same solution. Normally, we do this in a 5-gallon bucket in the tub, as most of our squash are small enough to easily dip in the bucket, and doing it all in the tub contains the mess a bit. For really large squashes, I dipper a handful of bleach water over the cut part of the stem and the base where the stem is attached to the squash. Then, I wipe the rest with a cloth dipped in the bleach solution. Once it has been dipped (or wiped), we towel the squash off again, using old towels, as the bleach can cause them to get discolored.
If you don’t have much time (or a good space to do any dipping in), at least make sure to get the cut part and the base of the stem wet with a bleach solution. This will kill off any bacteria that might get into the stem before it is cured, and make the squash rot prematurely.
Although I knew about the bleach thing for a long time, I resisted actually using bleach on my squash, as it seemed unnecessary and harsh. However, dipping the stems in bleach makes a huge difference in how long our squash store, so we do it every year, now. Bleach breaks down pretty quickly, and won’t be present by the time you eat the squash, plus you don’t normally eat the rind anyhow, so it is safe to do this.
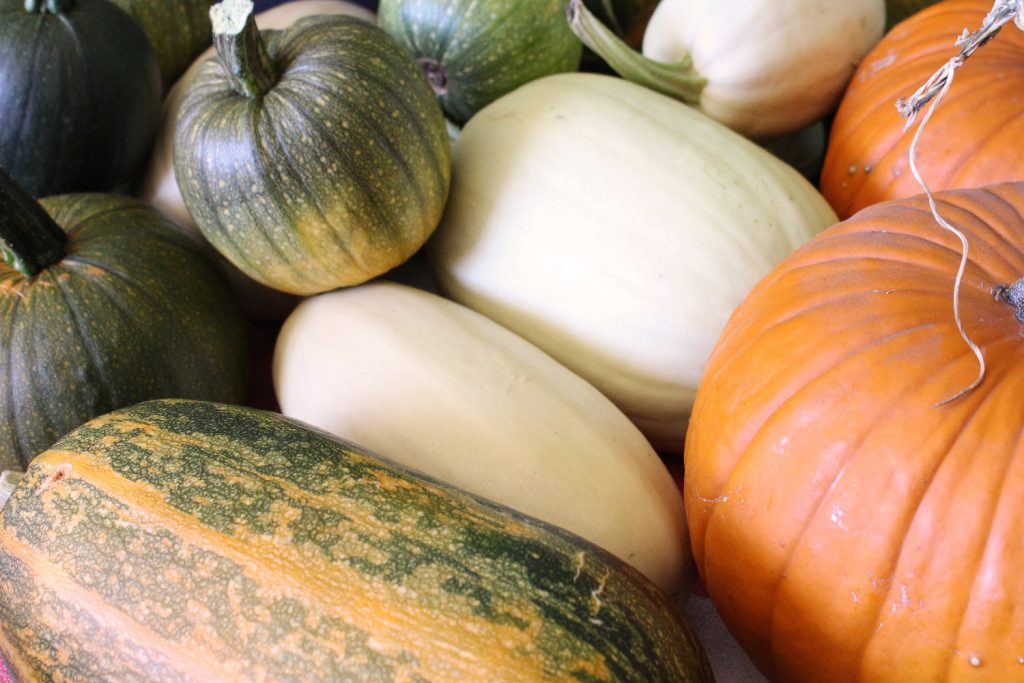
Finally, we lay out the squash on towels in a warm, dry space – normally we put them on the floor in the corner of our living room. We check it over and turn each squash every few days, to make sure all sides are being exposed to the air to dry. Squash prefers a cool, dry space for long-term storage, but you need to cure them properly, first.
How long should you cure your winter squash? It really varies, depending on the type of squash, how long you were able to leave it on the vine, how warm and dry your curing area is, and how wet or dry your growing season was.
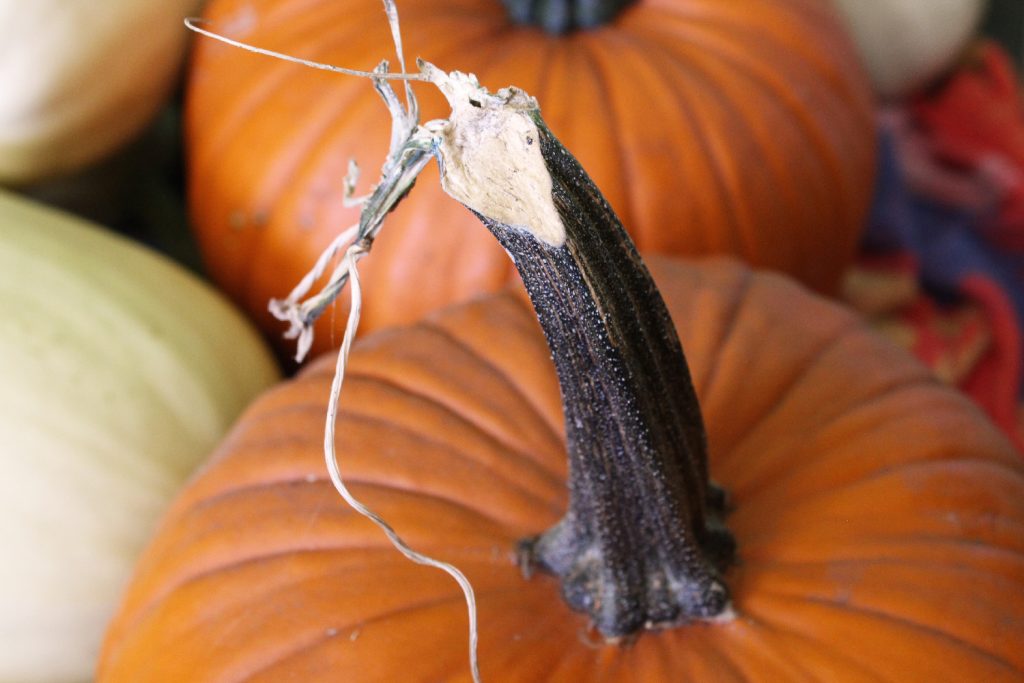
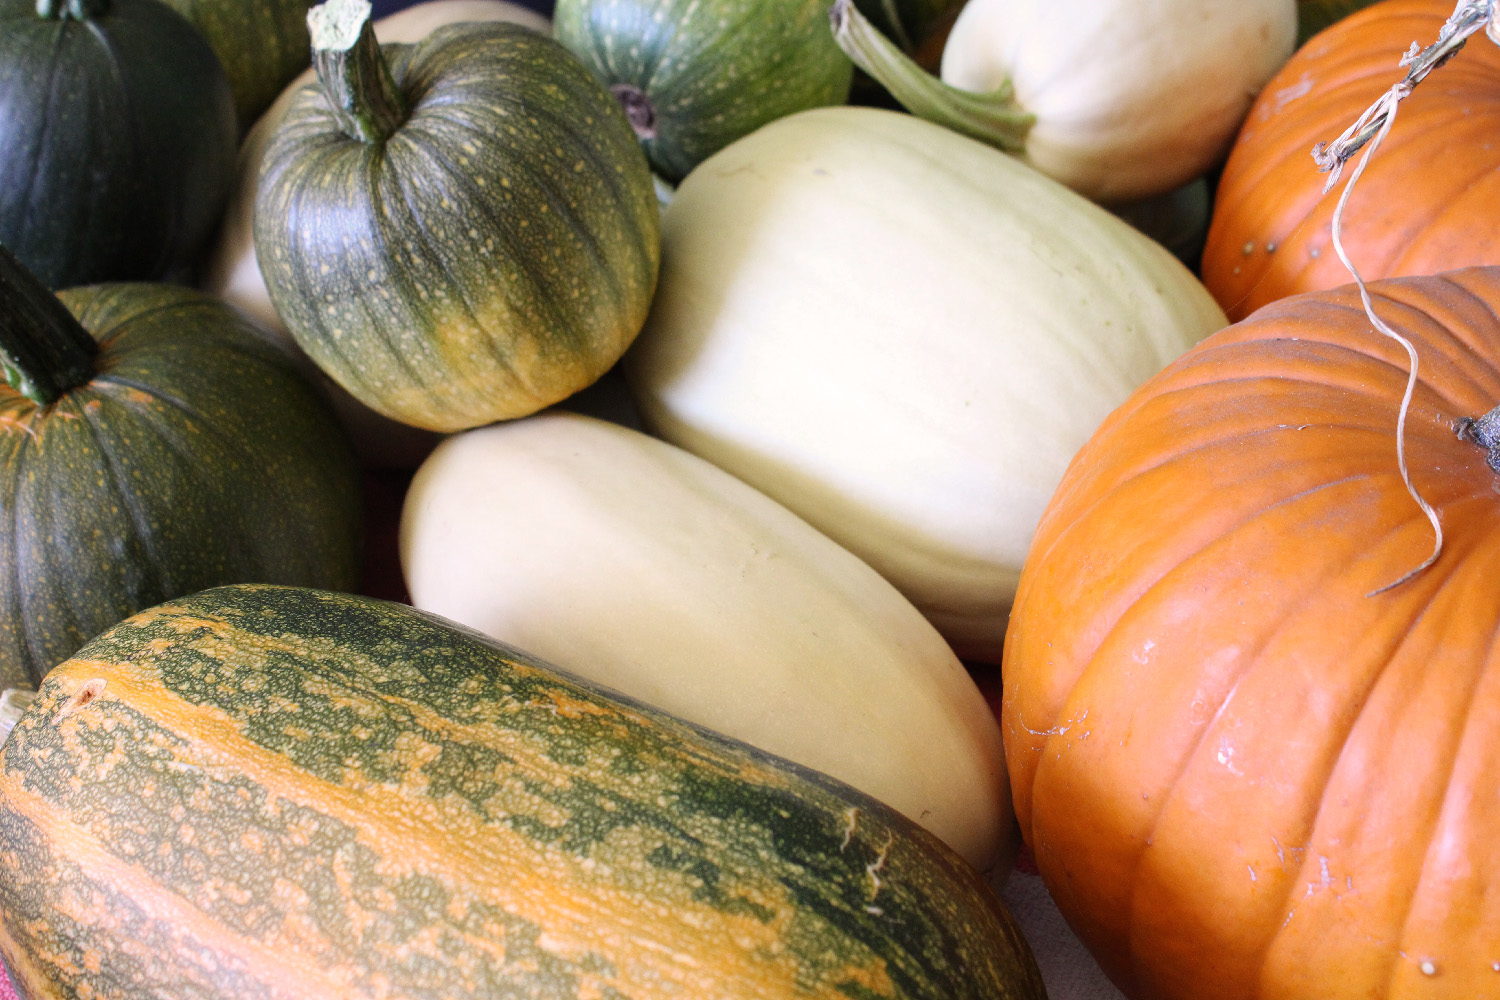
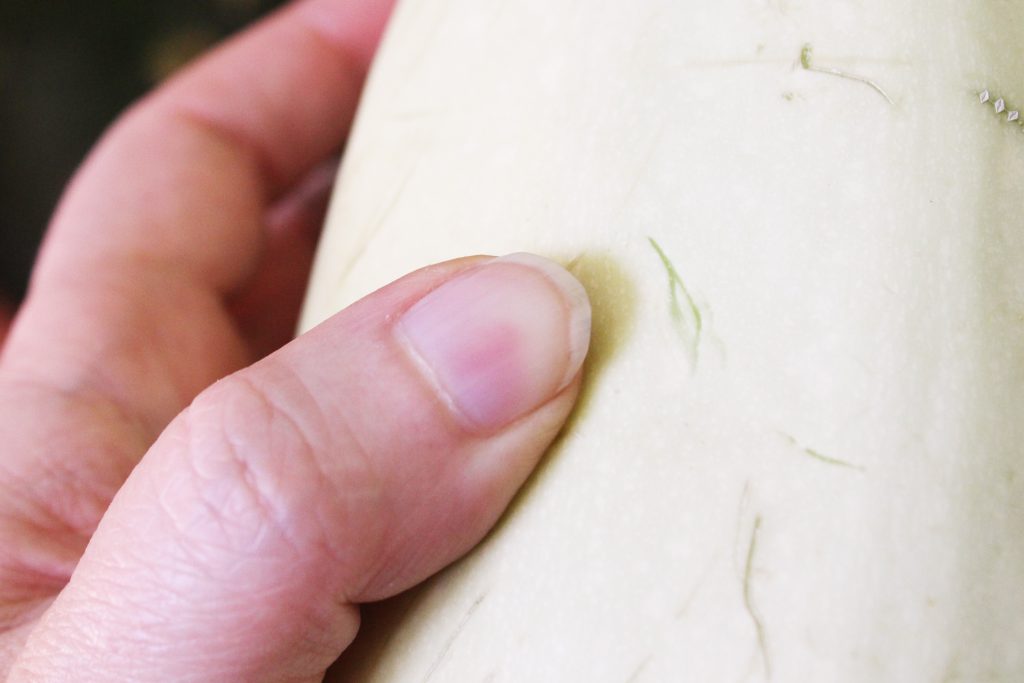
We’ve found that hard-stemmed varieties like spaghetti squash and most cucurbita pepo species of pumpkins cure fairly quickly, often in a couple of weeks for us, even if they are picked green. Once the stem feels hard and dry to the touch, and the skin of the squash itself has hardened to the point that you can’t easily pierce it with a fingernail, it is good to go. Fleshy-stemmed winter squash like Red Kuri, Buttercup, and Sweet Meat, and many other cucurbita maxima varieties, seem to take for-ev-er, often a month or more. For these, you need to cure them until the bulbous part where the stem meets the squash is hard and dry, as this is where the rot usually starts.
Once it is completely cured, winter squash prefers to be stored in a cool, dry place. Many basements would be too damp, though if you have a dry basement or run a dehumidifier, it could work well. We often store ours in a spare room with the door closed and the furnace vent covered; our squash does very well in there. How long any given squash will store can vary quite a bit; this depends on the type of squash, your growing conditions, and your storage conditions. Generally, though, for us, c. pepo pumpkins are usually done by Christmas or shortly after, followed by small-sized c. maxima squash like Red Kuri, which usually last until February or March. Larger c. maxima squash like Sweet Meat and Mandan last quite a bit longer, until April or May at least. Spaghetti squash is the champion out of the varieties we can easily grow, lasting a year or more in good shape. We haven’t found any variety of c. moschata that will set fruit in our short season, but I understand that that species tends to store very well, also.
